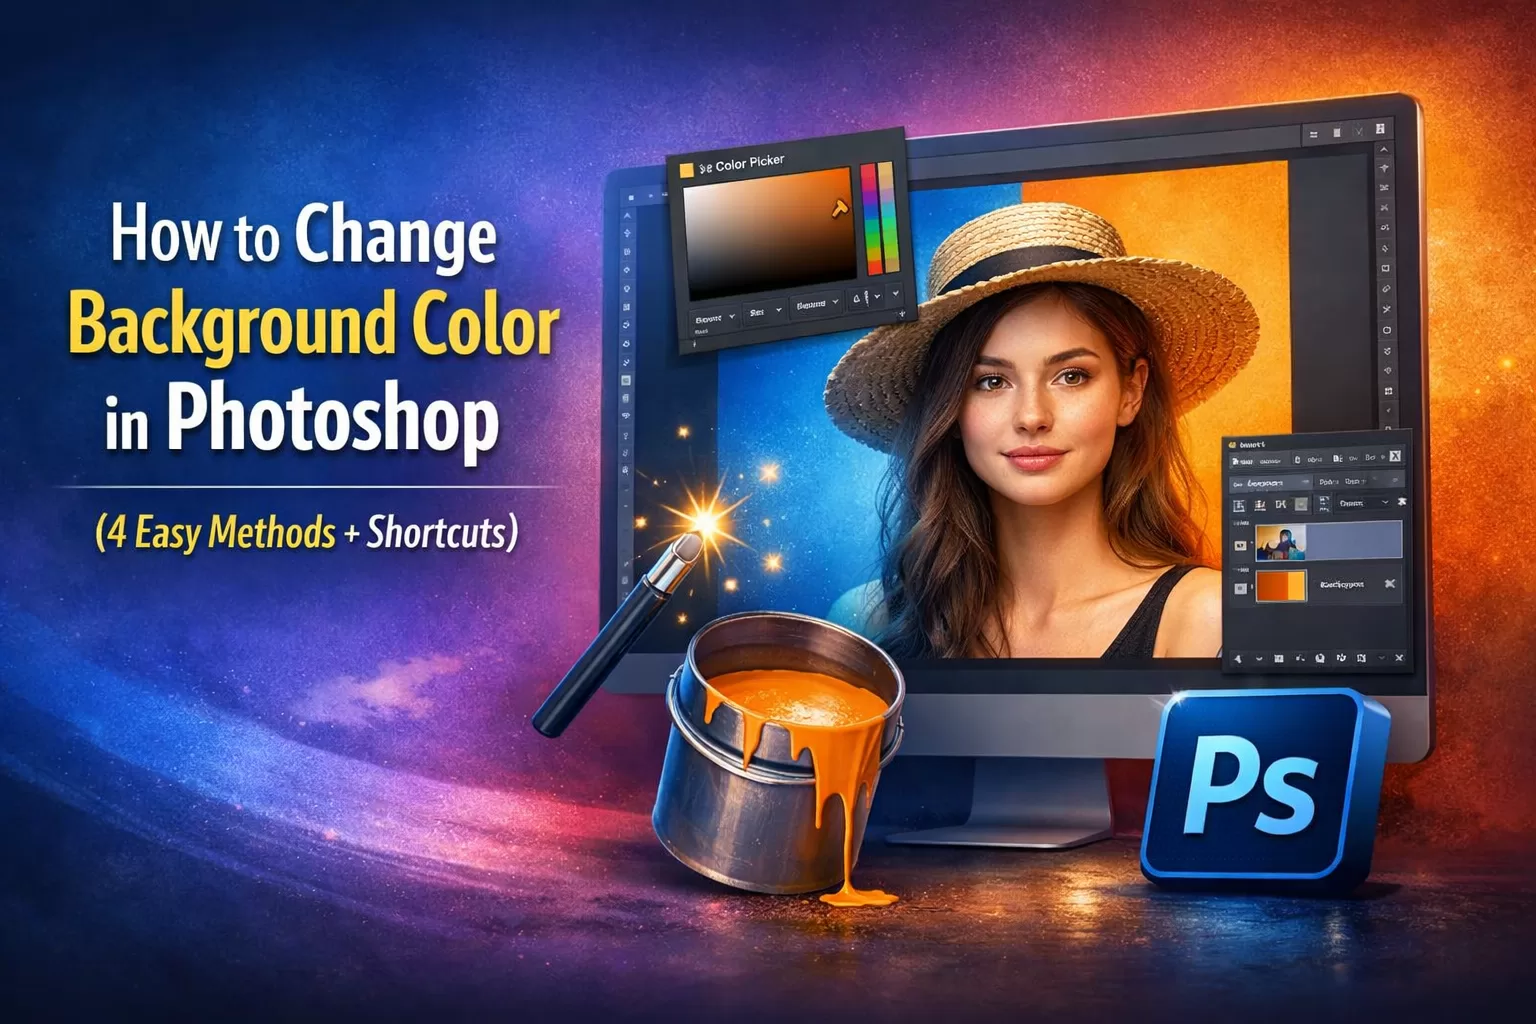
How to Change Background Color in Photoshop (4 Easy Methods + Shortcuts)
Ever spent 10 minutes clicking around Photoshop just trying to change a simple background color? You’re not alone. It’s one of those tasks that should be straightforward but somehow leaves beginners (and even intermediate users) feeling lost in menus and tool panels.
Here’s the thing: “background color” in Photoshop can mean two different things. You might want to change the canvas background (the actual color behind your design), or you might want to adjust the workspace background (that gray area around your canvas). Both are useful, and both are easier than you think.
In this guide, you’ll learn four proven methods to change background colors in Photoshop, plus the keyboard shortcuts that’ll save you hours every month. Whether you’re prepping product photos for an online store, designing social media graphics, or building your design portfolio, these techniques will speed up your workflow dramatically.
Let’s dive in.
How to Change Background Color in Photoshop kaashiv infotech photoshop
Why Changing Background Colors Matters for Designers 💼
Before we get into the how-to, let’s talk about why this skill actually matters in real-world design work:
- Product photography for e-commerce – White or transparent backgrounds increase conversion rates by up to 30% (Shopify, 2023)
- Social media graphics and thumbnails – Consistent brand backgrounds boost engagement by 23% (Buffer study)
- Portfolio presentations – Clean, professional backgrounds make your work shine
- Client mockups – Quickly test different background options without starting over
Here’s a stat that might surprise you: designers who master keyboard shortcuts save an average of 8 hours per month. That’s a full workday you could spend on creative work instead of clicking through menus.
These fundamentals matter in the job market too. According to LinkedIn’s 2024 design skills report, 78% of graphic design job postings specifically require Photoshop proficiency.
Want to master Photoshop professionally? Check out Kaashiv Infotech’s Graphic Design Internship for hands-on training with real client projects.
Method 1: Using the Paint Bucket Tool to Fill Background Color 🎨
This is the quickest method when you need a simple, solid color change on an existing layer.
Step-by-step:
- Open your image in Photoshop
- Unlock the background layer – See that little lock icon 🔒 in the Layers panel? Double-click the background layer and hit OK. Done.
- Select your foreground color – Click the foreground color square (top one) in the toolbar and choose your color
- Grab the Paint Bucket Tool – Press G on your keyboard (or find it in the toolbar)
- Click on the canvas – One click fills the entire background
Quick tip: Background layer locked and won’t budge? Double-click it, press Enter, and you’re good to go. This trips up almost everyone at first.
When to use this method: Perfect for quick edits when you’re working on a single layer and need a fast color swap. Great for social media graphics where speed matters more than flexibility.
[Image description: Screenshot showing the Paint Bucket tool selected in the toolbar with a blue foreground color, cursor hovering over a white background layer]
⌨️ Keyboard Shortcut to Fill Background Color Fast
Why click when you can press two keys? Here’s the shortcut that’ll change your Photoshop life:
| Action | Windows Shortcut | Mac Shortcut |
|---|---|---|
| Fill with foreground color | Alt + Backspace | Option + Delete |
| Fill with background color | Ctrl + Backspace | Cmd + Delete |
Real-world example: When I’m creating 20 Instagram story templates for a client, this shortcut turns a 2-hour task into 45 minutes. No joke.
Pro designers who use keyboard shortcuts consistently report saving 8+ hours per month. That’s time you could spend on actual creative work instead of hunting through menus.
Practice this shortcut on your next project. By the end of the week, your fingers will remember it automatically.
Method 2: Add a Solid Color Fill Layer (Non-Destructive)
This is the professional method. It’s how designers work when they need flexibility and want to avoid destructive editing.
Steps:
- Go to Layer > New Fill Layer > Solid Color
- Choose your color from the picker
- Click OK
- Drag the layer below your main image in the Layers panel
Why this method rocks: You’re not permanently changing anything. Need to switch from blue to red at 5 PM because the client changed their mind? Takes 3 seconds. Just double-click the fill layer and pick a new color.
Best practice explanation: Professional designers always work non-destructively when possible. It’s the difference between being able to make quick revisions and having to start over from scratch. Trust me – your future self will thank you when that revision email comes in.
Perfect use case: E-commerce product photography where you need to test multiple background colors. Create one fill layer, duplicate it a few times, and you’ve got instant variations to show your client.
[Image description: Layers panel showing a Solid Color Fill layer positioned below the main product image layer]
Method 3: Change Workspace Background Color (Your Interface)
Most people don’t even know this exists, but it’s a game-changer for color-critical work.
Quick steps:
- Right-click the gray area around your canvas (not on the canvas itself)
- Select your preferred shade:
- Light Gray
- Medium Gray (default)
- Dark Gray
- Black
Why professionals care: Studios working on color-critical projects – like print design or photo retouching – almost always use darker workspace backgrounds. Here’s why: it reduces eye strain during long editing sessions and improves color accuracy by up to 15%.
Your eyes judge colors differently depending on what’s surrounding them. That’s called simultaneous contrast, and it’s why serious color work happens on neutral, darker backgrounds.
When to use this: Photo retouching, color grading, any project where you need precise color judgment. Fashion photographers swear by the black workspace setting.
Method 4: Create a Transparent Background
Sometimes you don’t want any background color – you need transparency.
Quick steps:
- Delete or hide the background layer (click the eye icon to hide it)
- Go to File > Export > Save as PNG (this preserves transparency)
That’s it. You’ll now have a transparent background shown by that classic checkerboard pattern.
When you need this:
- Website graphics and icons
- Logo designs for various backgrounds
- Overlay images for video editing
- Any image that needs to sit on top of different colored backgrounds
Quick stat: Transparent PNGs are essential for web design – 89% of websites use them for logos and icons. If you’re building a design portfolio, knowing how to create clean transparent backgrounds is non-negotiable.
[Image description: Photoshop canvas showing a logo with transparent background indicated by checkerboard pattern]
Common Mistakes to Avoid ⚠️
Let’s troubleshoot the issues that trip up most people:
Problem 1: “I can’t change my background – nothing happens when I click!”
→ Your layer is probably locked. Look for the 🔒 icon in the Layers panel. Double-click the layer and hit OK to unlock it. This is the #1 issue beginners face.
Problem 2: “The Paint Bucket only fills part of my background”
→ Check the Tolerance setting in the top toolbar. It controls how similar colors need to be before the tool fills them. Set it to 32-50 for most cases. Too low (like 5) and it barely fills anything. Too high (like 200) and it fills your entire image.
Problem 3: “I’m changing the wrong thing and don’t know why!”
→ Make sure the correct layer is selected in the Layers panel. It sounds obvious, but every designer – including me – has wasted time editing the wrong layer. The Layers panel is your GPS for Photoshop. Always check it before making changes.
Empathy check: Trust me, every designer has accidentally painted on the wrong layer or struggled with a locked background. It’s a rite of passage. Don’t let it frustrate you – just know where to look when things act weird.
Real-World Applications & Career Benefits 🚀
Here’s how these background color skills translate into actual professional work:
📱 Social Media Marketing: Consistent brand backgrounds increase engagement by 23% (Buffer study, 2023). When your Instagram grid has cohesive backgrounds, followers scroll slower and engage more.
🛒 E-Commerce: Product photos with white backgrounds convert 30% better than cluttered ones (Shopify data). Amazon actually requires white backgrounds for most product categories.
🎨 UI/UX Design: Rapid prototyping with different background colors speeds up client presentations. Instead of saying “imagine this in blue,” you show them three variations in 90 seconds.
💼 Job Market Reality: According to LinkedIn’s 2024 Creative Skills Report, 78% of graphic design job postings require Photoshop proficiency. And yes, interviewers absolutely test your knowledge of basics like this.
Career insight: Mastering Photoshop fundamentals like background editing isn’t glamorous. Nobody’s going to be wowed by your ability to fill a layer. But it’s what separates hobbyists from hired designers. Speed and efficiency with the basics gives you more time for the creative work that does impress people.
Ready to turn these skills into a career? Kaashiv Infotech offers programs like Graphic Design, Digital Marketing internship in Chennai, and UI/UX Design course in Chennai where you’ll work on real client projects and build a portfolio that gets you hired.
Pro Tips from Industry Designers 💡
Tip 1: Use Layer Groups for Complex Backgrounds
When you’re working with multiple background elements (gradient + texture + color overlay), organize them in a folder. Name it “Background.” Sounds simple, but it saves hours when clients request revisions three weeks later.
Tip 2: Sample Colors from Brand Guidelines
Use the Eyedropper Tool (I key) to match exact brand colors from a client’s logo or website. No more “Is this the right shade of blue?” email threads. Just sample, fill, done.
Tip 3: Create Background Color Swatches
Save your most-used background colors to the Swatches panel. Click the folder icon, name it “Client Brand Colors” or “My Go-To Backgrounds,” and access them instantly on every project.
Tip 4: Always Check Contrast for Accessibility
Before finalizing any background-text combination, check the contrast ratio at WebAIM.org. Poor contrast doesn’t just look unprofessional – it makes your designs inaccessible to users with visual impairments. Aim for at least 4.5:1 contrast ratio for body text.
Conclusion
I’ve trained dozens of designers over the years, and you know what separates the pros from beginners? Speed and efficiency with the basics. Not fancy effects or advanced techniques – just knowing the fastest way to do simple tasks.
You now know four ways to change background colors in Photoshop:
- Quick Paint Bucket fills for simple projects
- Professional non-destructive layers for client work
- Workspace customization for color-accurate editing
- Transparent backgrounds for web graphics
You’ve learned the keyboard shortcuts that’ll save you 8+ hours every month. More importantly, you understand why this matters for real design work – from e-commerce conversions to social media engagement to landing your first design job.
Practice these methods on a few projects this week. By next month, you won’t even think about it. Your hands will just know.
Want structured training with real projects and mentorship? Explore Kaashiv Infotech’s courses and internship programs in graphic design and digital marketing. Learn from industry professionals, work on actual client projects, and build a portfolio that opens doors.
Frequently Asked Questions (FAQs)
Q1: What is the shortcut to change background color in Photoshop?
Press Alt + Backspace (Windows) or Option + Delete (Mac) to fill with the foreground color. Use Ctrl + Backspace (Windows) or Cmd + Delete (Mac) for the background color. This works after selecting the layer you want to fill.
Q2: How do I change the background color from white to black in Photoshop?
Set black as your foreground color (press D to reset to default black/white, then X to swap if needed), select the background layer, then press Alt + Backspace (Windows) or Option + Delete (Mac). Done in 2 seconds.
Q3: Can I change the workspace background color in Photoshop?
Yes! Right-click the gray area around your canvas and choose Light Gray, Medium Gray, Dark Gray, or Black. This changes your interface background, not your canvas. Photographers and retouchers typically prefer darker workspace backgrounds for better color judgment.
Q4: Why can’t I change my background color in Photoshop?
Your background layer is almost certainly locked. Look for the lock icon 🔒 next to the layer name in the Layers panel. Double-click the layer, click OK in the popup, and it’s unlocked. This is the #1 issue beginners face.
Q5: How do I add a background color to a transparent image?
Create a new layer (Ctrl/Cmd + Shift + N), fill it with your chosen color using the Paint Bucket or Alt/Option + Backspace, then drag that layer below your transparent image layer in the Layers panel. Or use Method 2 above (Solid Color Fill Layer) for a cleaner, non-destructive approach.