Creating a WebJob in the Azure Portal
- In the Web App blade of the Azure Portal, click All settings > WebJobs to show the WebJobs blade:
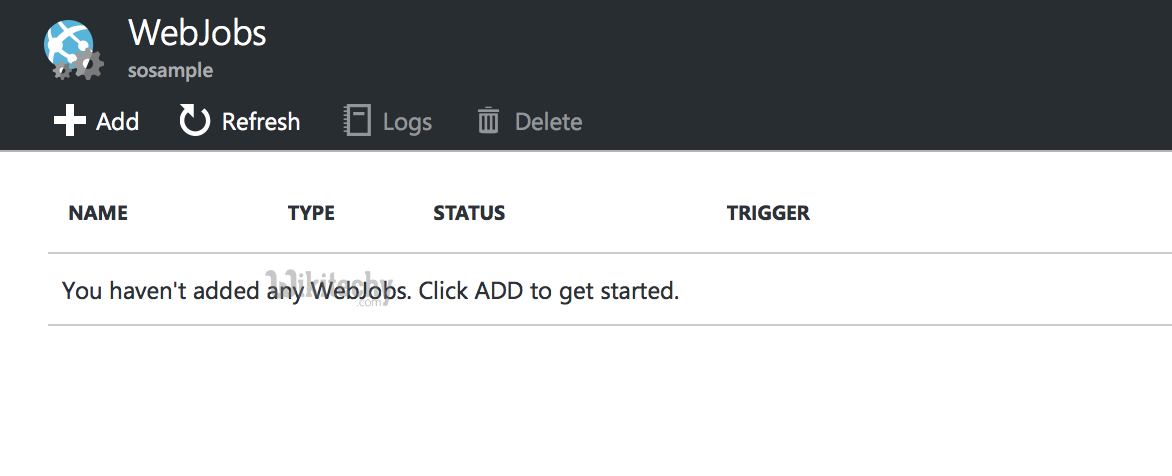
Learn Azure - Azure tutorial - Web Job Blade - Azure examples - Azure programs
- Click Add. The Add WebJob dialog appears.
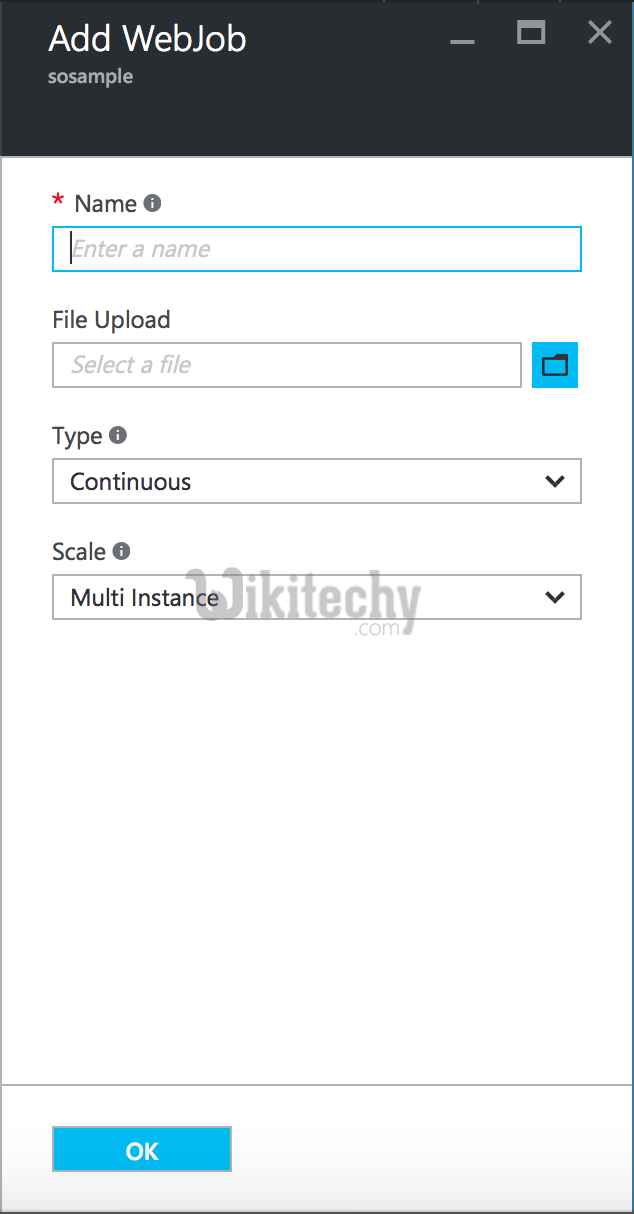
Learn Azure - Azure tutorial - Add Web Job Module - Azure examples - Azure programs
- Under Name, provide a name for the WebJob. The name must start with a letter or a number and cannot contain any special characters other than "-" and "_".
- In the How to Run box, choose your preferred option Continuous or Triggered (the trigger can be using a cron schedule or a WebHook).
- In the File Upload box, click the folder icon and browse to the zip file that contains your script. The zip file should contain your executable (.exe .cmd .bat .sh .php .py .js) as well as any supporting files needed to run the program or script.
- Check Create to upload the script to your web app. The name you specified for the WebJob appears in the list on the WebJobs blade.