Create a website on Azure
Create a website on Azure using portal page
Getting started
- The first thing to do is to login into your Azure account and go to your portal page. If you don't have yet an account, you can start a free trial here.
- After you have logged into your account, you can start following this guide.
The real guide
- Inside portal, press the New button in the left menu.

Learn Azure - Azure tutorial - Dashboard Module - Azure examples - Azure programs
- It will appear a new panel containing a few services. In this guide we will focus only the Web + Mobile section.
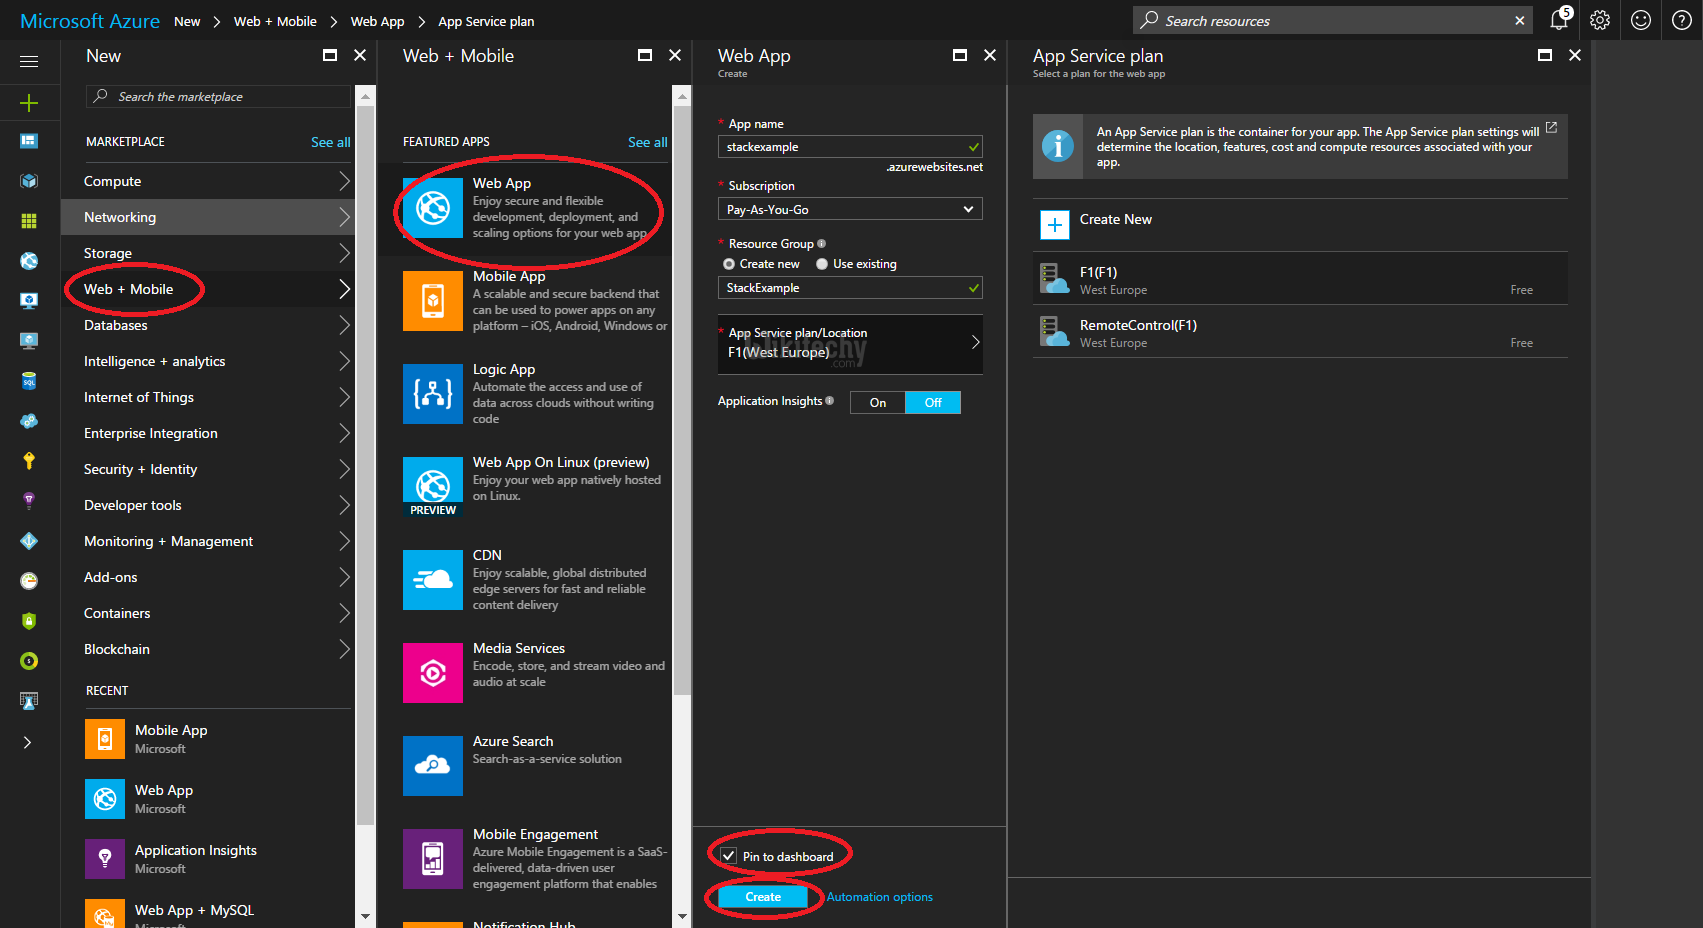
Learn Azure - Azure tutorial - Web Application Module - Azure examples - Azure programs
Now we can click on Web App. In the new panel we have to enter a few details:
- App name:
- This will be the name of your website
- Subscription:
- You could have some different options based on your subscription. Pick the one you want to use
- Resoruce group:
- It's like a container that will hold every kind of service. In this example I created a new one, you are free to use one you had already created
- App service plan/Location:
- When you click on this option it will prompt out a new panel that will show all the App service plans you have created before. If it's empty, probably you need to create a new one. To do this just press the Create New button in the App Service panel
- Application Insights:
- If you press the On button, it will create a new Application Insights resource that will allow you to collect some cool statistic about your app. We will skip it for the moment as we can add it later.
At this point, check all the data you inserted until now. When you are sure your data are correct, put a check mark next to the Pin to dashboard option (so you will see your application directly on your Dashboard) and press the Create button. Done! Now your website is created!
Exploring your website
- Now that your website has been created, click on the tile created on your dashboard. It will appear a window like this:
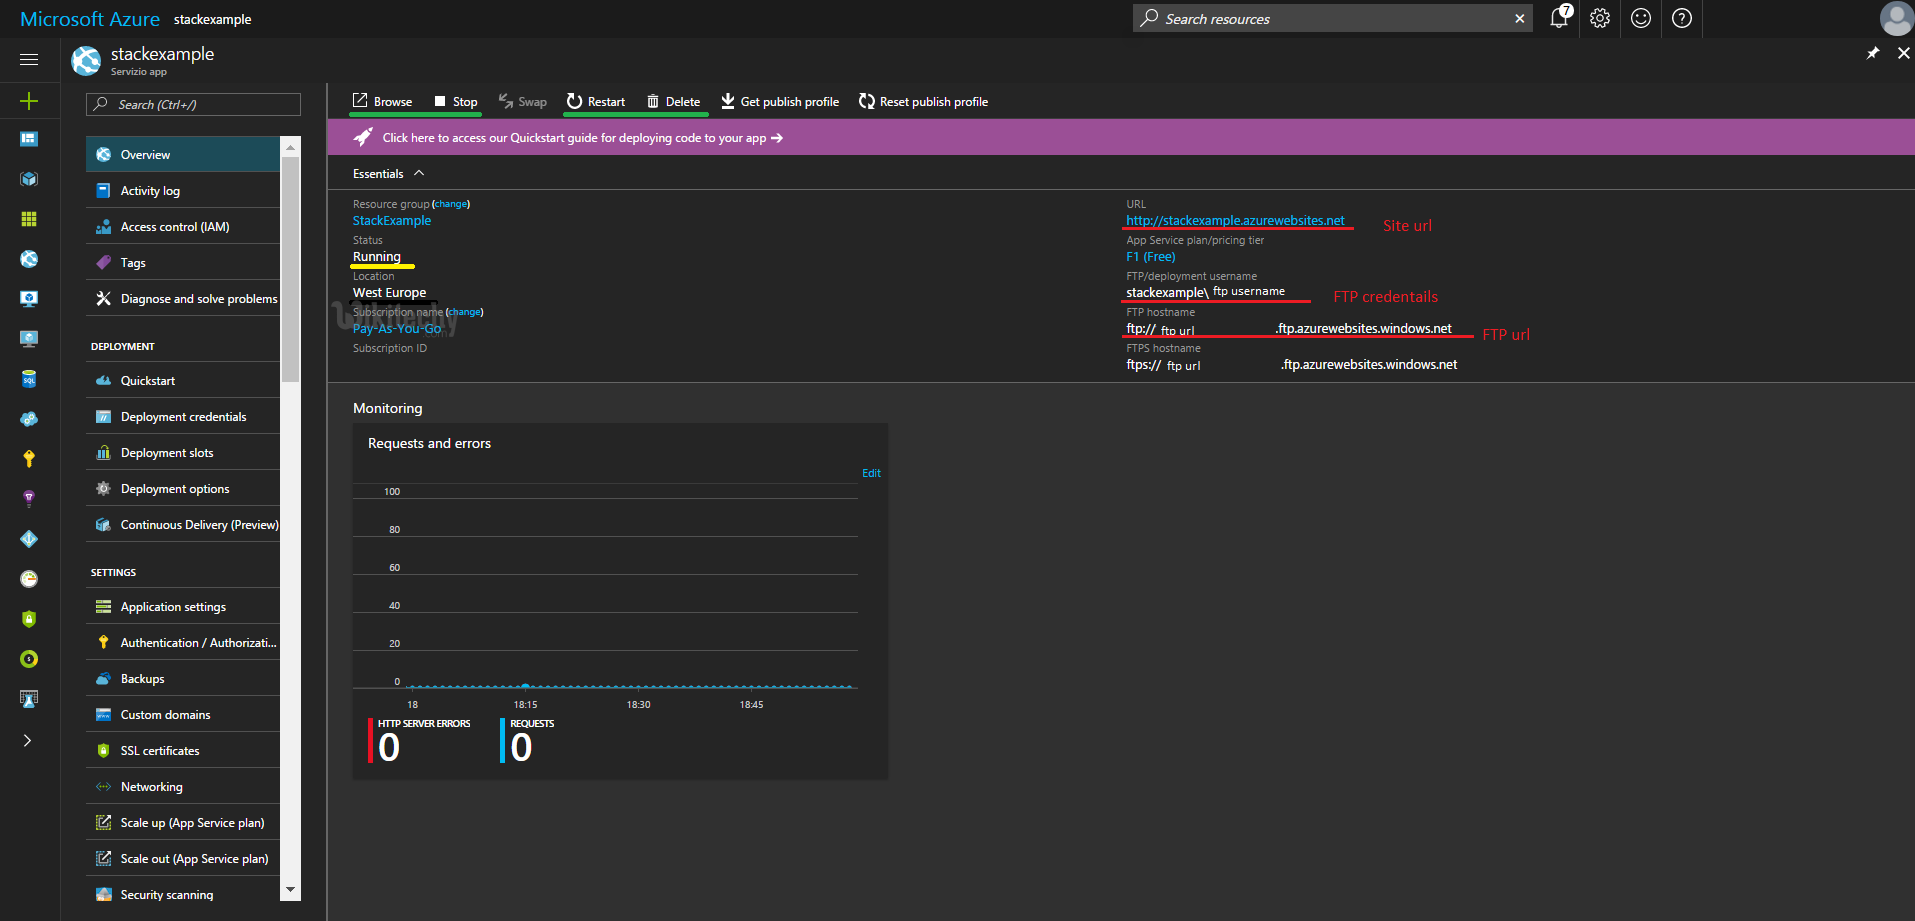
Learn Azure - Azure tutorial - Explore Module - Azure examples - Azure programs
On the left you can see a menu that will allow you to customize your website. Now we will focus only on the first option, the Overview one. On top of that view, you can see some useful buttons (the green underlined ones). They will allow you respectively to Browse, Stop, Restart and Delete your web application. In the same panel you can see (on the left side) also the Status of your website and it's Location.
- On the right there are some very nice information such as the URL of our web application. We find also the FTP credentials and it's FTP URL.
- Now, if you press the Explore button or you enter your application url in the url bar, you will see your website. Initially it will be like this:
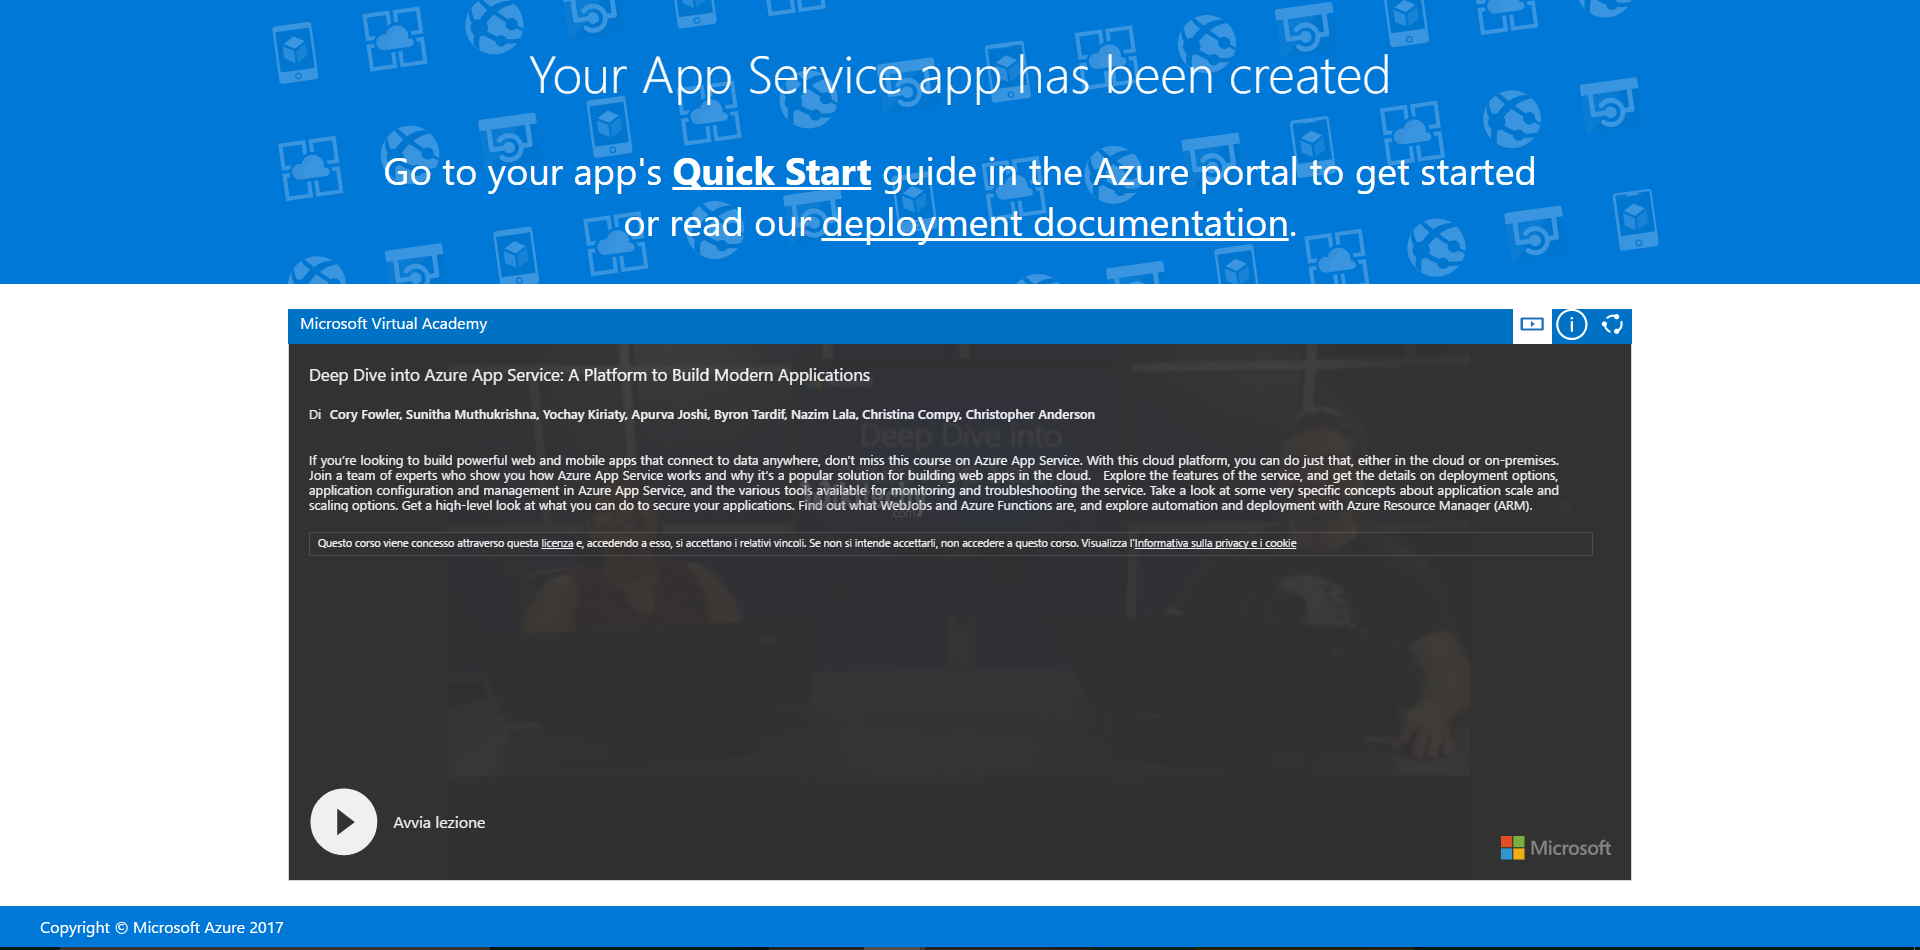
Learn Azure - Azure tutorial - Service Module - Azure examples - Azure programs
- As you can see it's not the coolest website on the Internet, but you will learn how to transform it in one of the greatest web application ever. Or at least, the idea is that.