ionic tutorial - Ionic Range - ionic - ionic development - ionic 2 - ionic framework
- Ionic range is used to choose and display level of something. It will represent the actual value in correlation to maximal and minimal value.
- Ionic offer simple way of working with range.
- The Range slider lets users select from a range of values by moving the slider knob.
- It can accept dual knobs, but by default one knob controls the value of the range.
- Labels can be placed on either side of the range by adding the range-left or range-right property to the element.
- The element does not have to be an ion-label, it can be added to any element to place it to the left or right of the range. See usage below for examples.
- Range are used inside item element. The class that is used is range. We will place this class after the item class.
- This will prepare container where the range will be placed. After creating container, we need to add input and assign range type to it and name attribute.
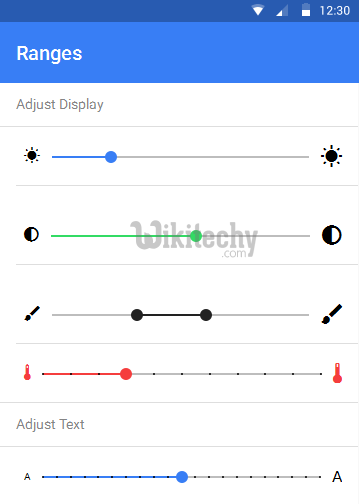
Adding Icons
- Range will usually require icons to display data clearly. We just need to add icons before and after range input to place them on both sides of the range element.
<div class = "item range">
   <i class = "icon ion-volume-low"></i>
   <input type = "range" name = "volume">
   <i class = "icon ion-volume-high"></i>
</div>
Click below button to copy the code. From wikitechy - ionic tutorial - ionic framework tutorial - team
- Above code will produce following screen −
ionic tutorial . extension , ionic framework , ionic , ionic framework book , ionic app example , ionic templates , ionic getting started
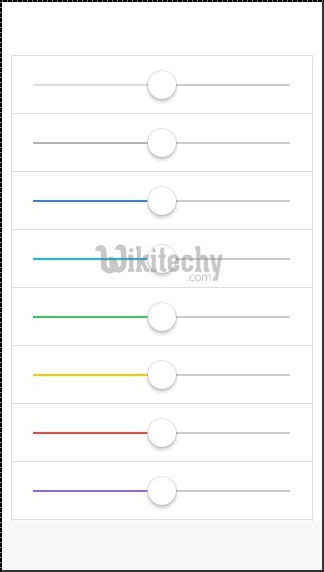
Styling Range
- Our next example will show you how to style range with Ionic colors. Color classes will use range prefix.
- We will create list with nine ranges and style it differently.
<div class = "list">
   <div class = "item range range-light">
      <input type = "range" name = "volume">
   </div>

   <div class = "item range range-stable">
      <input type = "range" name = "volume">
   </div>

   <div class = "item range range-positive">
      <input type = "range" name = "volume">
   </div>

   <div class = "item range range-calm">
      <input type = "range" name = "volume">
   </div>

   <div class = "item range range-balanced">
      <input type = "range" name = "volume">
   </div>

   <div class = "item range range-energized">
      <input type = "range" name = "volume">
   </div>

   <div class = "item range range-assertive">
      <input type = "range" name = "volume">
   </div>

   <div class = "item range range-royal">
      <input type = "range" name = "volume">
   </div>

   <div class = "item range range-dark">
      <input type = "range" name = "volume">
   </div>

</div>
Click below button to copy the code. From wikitechy - ionic tutorial - ionic framework tutorial - team
- Above code will produce following screen −