
Eclipse IDE on Windows: Eclipse IDE on Windows Made Easy for Beginners
If you’re searching for the easiest way to install Eclipse IDE on Windows, you’re in the right place. I remember the first time I tried installing Eclipse—I expected it to take five minutes, but I ended up spending almost an hour because I downloaded the wrong version and forgot to install Java first. 😅
The good news? You don’t have to repeat my mistakes.
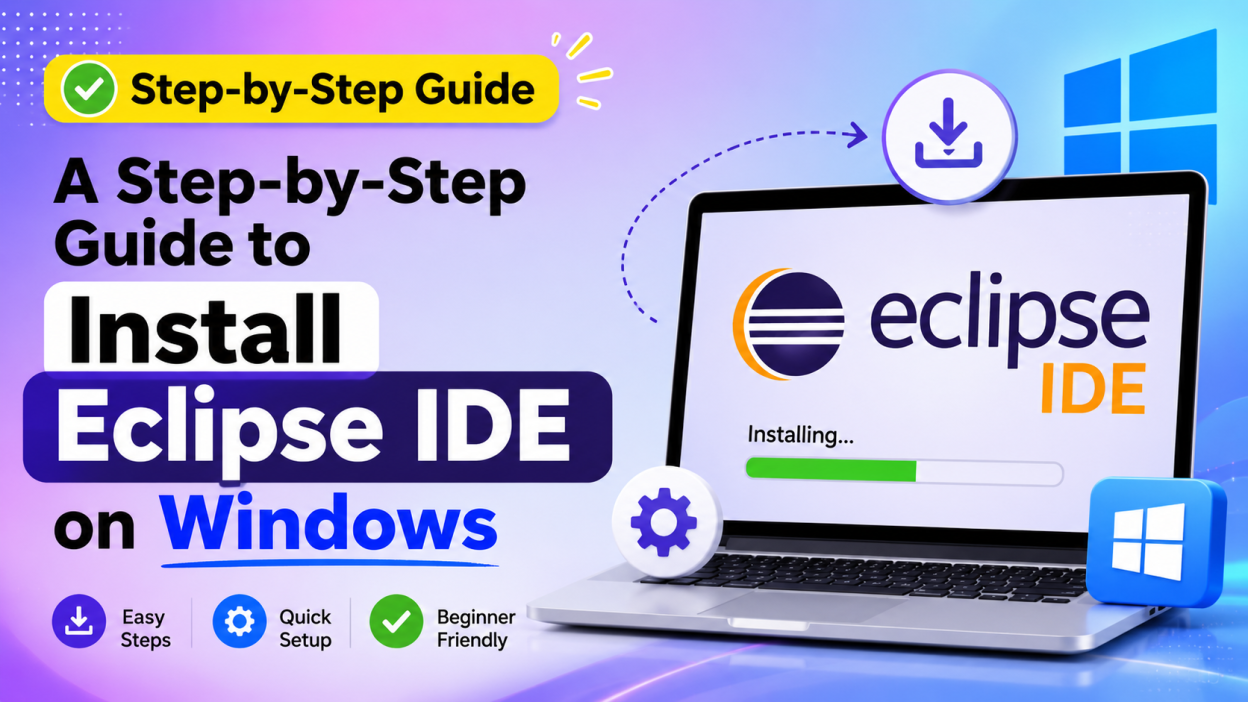
In this guide, I’ll walk you through how to install Eclipse IDE on Windows step by step. Even if you’ve never written a single line of Java code, you’ll be able to install Eclipse, configure it correctly, and launch your first project by the end of this article.
Let’s get started!

📌 Key Highlights
- ✅ What is Eclipse IDE on Windows?
- ✅ Prerequisites before installing Eclipse
- ✅ How to download Eclipse safely
- ✅ Step-by-step Eclipse installation
- ✅ How to configure the workspace
- ✅ Creating your first Java project
- ✅ Common installation errors and solutions
- ✅ Tips to improve Eclipse performance
- ✅ Frequently Asked Questions
What is Eclipse IDE on Windows? 💻
Eclipse IDE on Windows is one of the most popular free Integrated Development Environments (IDEs) used by Java developers. It helps programmers write, edit, compile, debug, and manage Java applications from a single place.
Instead of writing code in a simple text editor, Eclipse gives you helpful features like:
- Code suggestions
- Auto-completion
- Error highlighting
- Built-in debugger
- Project management
- Plugin support
I personally like Eclipse because it catches many mistakes before I even run my code. That alone saves me a lot of frustration.
Although Eclipse supports languages like C++, Python, PHP, and JavaScript through plugins, it’s mainly known as one of the best IDEs for Java development.
Why Should You Install Eclipse IDE on Windows?
There are plenty of IDEs available today, so why choose Eclipse?
Here are a few reasons I still recommend it:
- 🚀 Completely free and open source
- 💻 Works smoothly on Windows
- ☕ Excellent support for Java programming
- 🔌 Thousands of plugins available
- 📚 Used in many colleges and companies
- 🔄 Regular updates from the Eclipse Foundation
If you’re learning Java, chances are your instructor will ask you to use Eclipse.
Prerequisites Before Installing Eclipse IDE on Windows
Before downloading Eclipse, make sure your computer is ready.
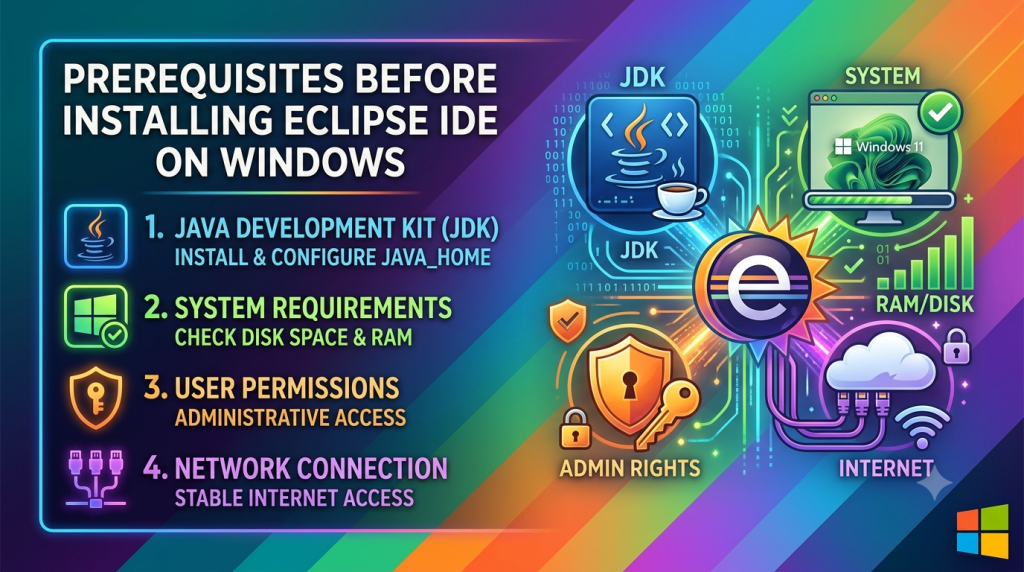
1. Install Java JDK
Eclipse requires the Java Development Kit (JDK).
Without the JDK, Eclipse won’t be able to compile Java programs.
You can download the latest JDK from Oracle:
Or install OpenJDK from:
2. Check Your Windows Version
Eclipse works on:
- Windows 10
- Windows 11
- Windows Server editions
Older Windows versions may not support the latest Eclipse releases.
3. Ensure Enough Storage
You’ll need approximately:
- 500 MB–1 GB for Eclipse
- Additional space for Java projects
Step 1: Download Eclipse IDE on Windows 📥
Visit the official Eclipse website:
Click the Download button.
You’ll usually download the Eclipse Installer, which automatically installs the IDE.
I always recommend downloading Eclipse from the official website instead of third-party sources.
Step 2: Run the Eclipse Installer
After downloading:
- Open the Downloads folder.
- Double-click the installer.
- Allow Windows permission if prompted.
The installer will display different Eclipse packages.
Examples include:
- Eclipse IDE for Java Developers
- Eclipse IDE for Enterprise Java
- Eclipse IDE for C/C++
- Eclipse IDE for PHP
If you’re learning Java, choose:
Eclipse IDE for Java Developers
Step 3: Select Installation Folder
Choose the installation directory.
Example:
C:\Program Files\EclipseMost users can keep the default location.
Click Install.
The installer will begin downloading the required files.
Depending on your internet speed, this may take a few minutes.
Step 4: Accept the License Agreement
You’ll now see the Eclipse license.
Read it if you’d like.
Click:
Accept Now
The installation will continue automatically.
Step 5: Launch Eclipse IDE on Windows 🚀
Once installation completes:
Click
Launch
The first time Eclipse starts, it’ll ask for a Workspace.
What is a Workspace?
This confused me when I first installed Eclipse.
A workspace is simply the folder where Eclipse stores:
- Java projects
- Source code
- Configuration files
- Preferences
Example:
C:\Users\YourName\workspaceYou can keep the default location.
Click Launch.
Step 6: Create Your First Java Project
Now comes the exciting part!
Inside Eclipse:
File → New → Java Project
Give your project a name.
Example:
HelloWorldClick:
Finish
Congratulations!
You’ve successfully created your first Java project.
Step 7: Create Your First Java Program
Right-click your project.
Choose:
New → ClassName it:
HelloWorldSelect:
✅ public static void main()
Click Finish.
Now type:
public class HelloWorld {

    public static void main(String[] args) {

        System.out.println("Hello World!");

    }

}
Run the program.
You’ll see:
Hello World!That’s always a satisfying moment. I still remember smiling the first time I saw that message appear in the console—it meant everything was finally working!
Common Eclipse Installation Errors and Fixes 🔧
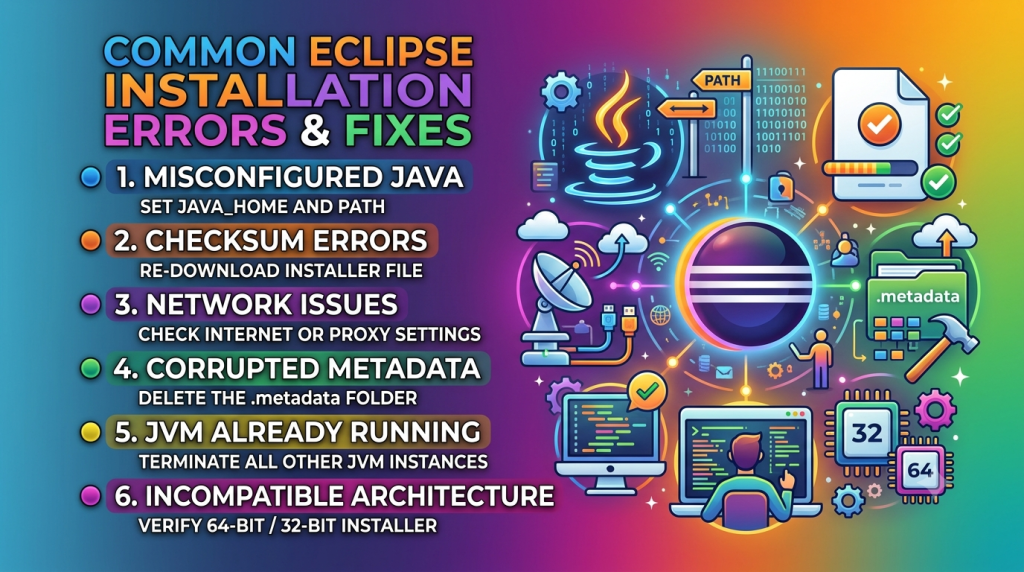
1. Java Not Found
Problem
Eclipse won’t start.
Solution
Install the latest JDK and ensure Java is properly configured.
2. Workspace Cannot Be Created
Solution
Choose another folder.
Avoid restricted system directories.
3. Eclipse Runs Slowly
Try:
- Increasing RAM allocation
- Closing unused projects
- Updating Eclipse
- Removing unnecessary plugins
4. Installation Freezes
This usually happens because of:
- Slow internet
- Antivirus scanning
- Firewall restrictions
Restart the installer if needed.
Tips After Installing Eclipse IDE on Windows ✨
Once Eclipse is installed, I usually spend a few minutes customizing it. It makes coding much more enjoyable.
Here are a few simple tips:
- 🌙 Switch to a dark theme if you code for long hours.
- ⌨️ Learn keyboard shortcuts to work faster.
- 💾 Enable automatic project builds.
- 🔄 Keep Eclipse updated.
- 🧩 Install only the plugins you actually need to keep the IDE fast.
- 📁 Organize projects into separate workspaces if you’re working on different courses or clients.
Small changes like these can make a big difference over time.
Advantages of Eclipse IDE on Windows
There are many reasons developers continue using Eclipse IDE on Windows:
- Free to use
- Open-source community support
- Powerful Java development tools
- Large plugin ecosystem
- Easy debugging
- Git integration
- Maven and Gradle support
- Cross-platform compatibility
- Great documentation
- Suitable for beginners and professionals
Eclipse IDE vs Visual Studio Code
| Feature | Eclipse IDE | Visual Studio Code |
|---|---|---|
| Best For | Java Development | Multiple Languages |
| Java Support | Excellent | Good with extensions |
| Debugging | Built-in | Extension-based |
| Plugins | Huge Collection | Huge Marketplace |
| Beginner Friendly | Yes | Yes |
| Performance | Moderate | Faster |
If your main goal is Java programming, Eclipse IDE on Windows remains one of the strongest choices because of its mature tooling and extensive Java ecosystem.
Frequently Asked Questions
Is Eclipse IDE free?
Yes. Eclipse is completely free and open source.
Can Eclipse run without Java?
No.
You must install the Java Development Kit (JDK) before using Eclipse for Java development.
Is Eclipse good for beginners?
Absolutely.
Many colleges and universities teach Java using Eclipse because it’s stable, reliable, and packed with helpful features.
Can I install Eclipse on Windows 11?
Yes.
The latest versions support both Windows 10 and Windows 11.
Is Eclipse only for Java?
No.
Although it’s best known for Java, Eclipse can also support languages like C++, PHP, Python, and JavaScript through additional plugins.
Final Thoughts 🎯
Installing Eclipse IDE on Windows is much easier once you know the correct sequence: install the JDK, download Eclipse from the official website, complete the setup, and create your first Java project. Following these steps saves time and helps you avoid common setup issues.
When I first started learning Java, getting my development environment ready felt like the hardest part. Looking back, it was simply a matter of following the right instructions. Once Eclipse was running, I could focus on what really mattered—learning to code and building projects.
If you’re just beginning your Java journey, don’t worry about mastering every Eclipse feature on day one. Start with the basics, practice consistently, and you’ll become more comfortable with the IDE as you build more applications.
Happy coding! ☕🚀
Want to Learn More About Programming Courses, Or Non Coding Courses Like Full Stack Java Course, Python Course, Networking Course Visit www.kaashivinfotech.com