
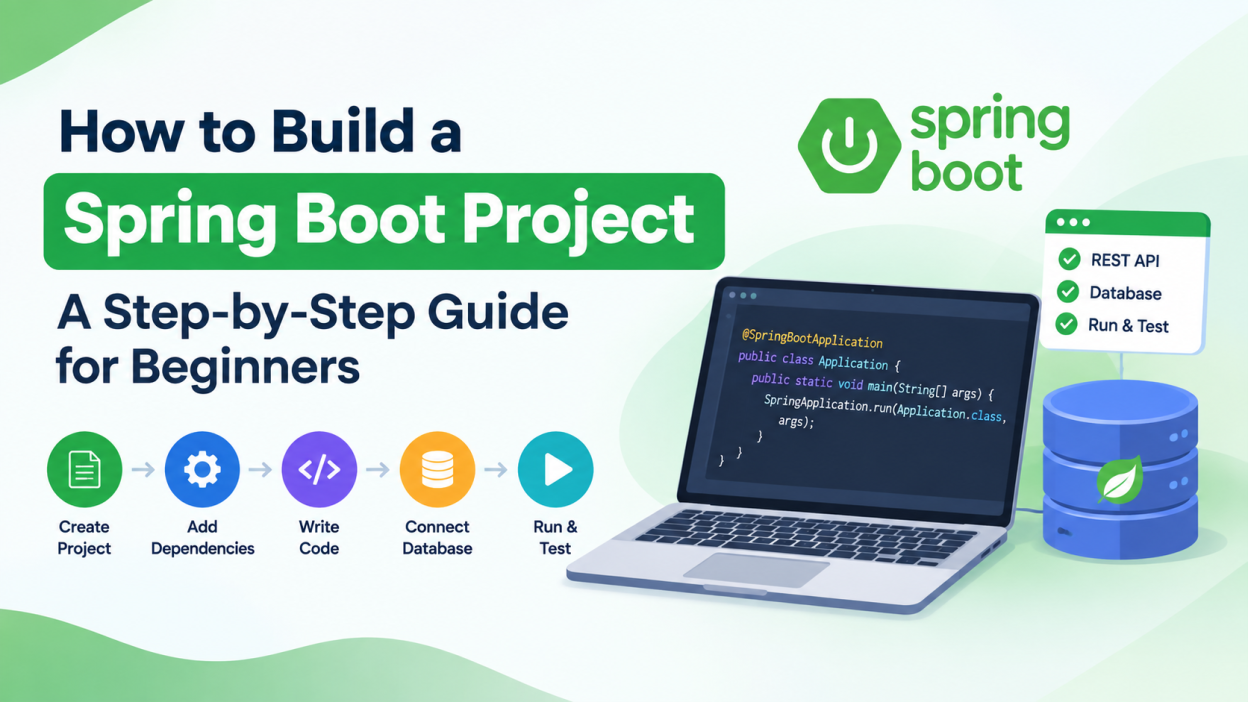
How to Build a Spring Boot Project – Spring Boot is one of the most popular Java frameworks for developing modern web applications, REST APIs, and backend services. It simplifies the development process by reducing configuration and providing ready-to-use tools for creating production-ready applications.
For beginners, building a small project is one of the best ways to understand Spring Boot concepts such as controllers, services, REST APIs, dependency injection, and database connectivity.
In this guide, we will learn how to build a simple Student Management REST API using Spring Boot step by step.
What Is Spring Boot?
Spring Boot is a framework built on top of the Spring Framework. It helps developers create Java applications with less configuration and boilerplate code.
Some important features of Spring Boot include:
- Easy project setup
- Embedded servers such as Tomcat
- Auto-configuration
- Starter dependencies
- REST API development
- Database integration
- Production-ready features
Spring Boot is widely used for enterprise applications, microservices, backend systems, and web APIs.
Project Overview
Before starting, let’s understand what we are going to build.
Our project will be a Student Management API that allows users to:
- Add a student
- View all students
- Find a student by ID
- Update student details
- Delete a student
We can later connect this API to a frontend application built using React, Angular, or another technology.
Step 1: Install the Required Tools
To create the project, you need a few basic tools.
Java
Install a supported Java Development Kit (JDK). For modern Spring Boot projects, Java 17 or later is commonly used.
Check your installation using:
java -versionIDE
You can use any Java IDE, such as IntelliJ IDEA, Eclipse, or Visual Studio Code with Java extensions.
Maven
Maven is used to manage project dependencies and build the application. Spring Boot projects commonly use Maven or Gradle.
Step 2: Create a Spring Boot Project
The easiest way to create a project is through Spring Initializr.
Choose the following options:
- Project: Maven
- Language: Java
- Spring Boot: Current stable version
- Packaging: Jar
- Java: 17 or later
Add these dependencies:
- Spring Web
- Spring Data JPA
- H2 Database
Generate the project and extract the downloaded ZIP file.
Open the project in your preferred IDE.
Step 3: Understand the Project Structure
A typical Spring Boot project looks like this:
src
 └── main
     ├── java
     │   └── com.example.student
     │       ├── StudentApplication.java
     │       ├── controller
     │       ├── service
     │       ├── repository
     │       └── model
     └── resources
         └── application.properties
Keeping controllers, services, repositories, and models in separate packages makes the project easier to maintain.
Step 4: Create the Student Model
Create a Student class inside the model package.
package com.example.student.model;

import jakarta.persistence.Entity;
import jakarta.persistence.GeneratedValue;
import jakarta.persistence.GenerationType;
import jakarta.persistence.Id;

@Entity
public class Student {

    @Id
    @GeneratedValue(strategy = GenerationType.IDENTITY)
    private Long id;

    private String name;
    private String email;
    private String course;

    // Getters and Setters
}
The @Entity annotation tells Spring Data JPA that this class represents a database table.
The @Id annotation identifies the primary key.
Step 5: Create the Repository
Next, create a repository interface.
package com.example.student.repository;

import com.example.student.model.Student;
import org.springframework.data.jpa.repository.JpaRepository;

public interface StudentRepository extends JpaRepository<Student, Long> {
}
By extending JpaRepository, we automatically get common database operations such as saving, finding, updating, and deleting records.
This means we don’t have to manually write SQL queries for basic operations.
Step 6: Create the Service Layer
Create a StudentService class.
package com.example.student.service;

import com.example.student.model.Student;
import com.example.student.repository.StudentRepository;
import org.springframework.stereotype.Service;

import java.util.List;

@Service
public class StudentService {

    private final StudentRepository repository;

    public StudentService(StudentRepository repository) {
        this.repository = repository;
    }

    public List<Student> getAllStudents() {
        return repository.findAll();
    }

    public Student saveStudent(Student student) {
        return repository.save(student);
    }

    public void deleteStudent(Long id) {
        repository.deleteById(id);
    }
}
The service layer contains the application’s business logic.
The @Service annotation tells Spring that this class is a service component.
Step 7: Create the REST Controller
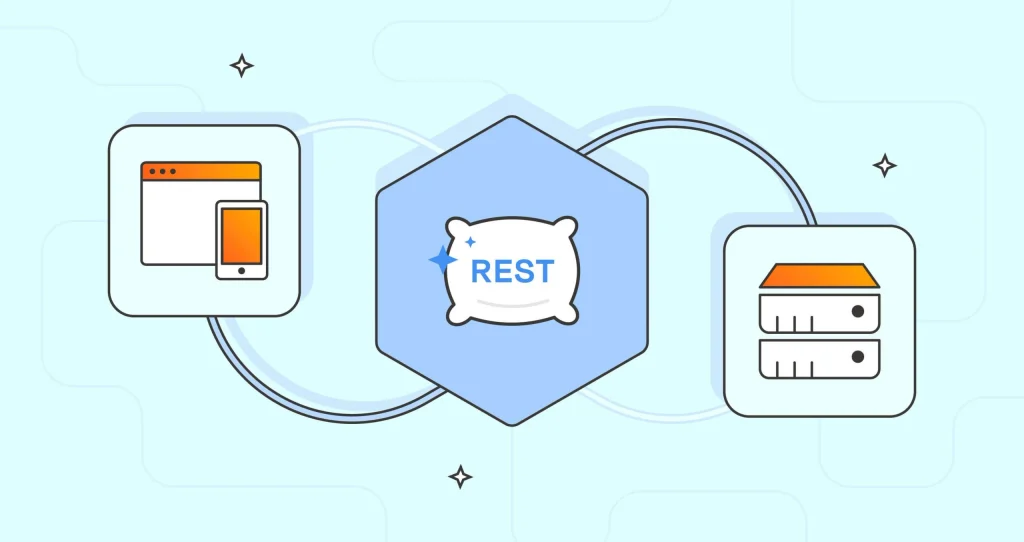
Now create a controller to expose our API endpoints.
package com.example.student.controller;

import com.example.student.model.Student;
import com.example.student.service.StudentService;
import org.springframework.web.bind.annotation.*;

import java.util.List;

@RestController
@RequestMapping("/students")
public class StudentController {

    private final StudentService service;

    public StudentController(StudentService service) {
        this.service = service;
    }

    @GetMapping
    public List<Student> getStudents() {
        return service.getAllStudents();
    }

    @PostMapping
    public Student addStudent(@RequestBody Student student) {
        return service.saveStudent(student);
    }

    @DeleteMapping("/{id}")
    public void deleteStudent(@PathVariable Long id) {
        service.deleteStudent(id);
    }
}
The @RestController annotation allows the class to handle HTTP requests and return data such as JSON.
For example:
GET /students→ Get studentsPOST /students→ Add a studentDELETE /students/1→ Delete student with ID 1
Step 8: Configure the Database
For this beginner project, we can use the H2 in-memory database.
Open application.properties and add:
spring.datasource.url=jdbc:h2:mem:studentdb
spring.datasource.driver-class-name=org.h2.Driver

spring.jpa.hibernate.ddl-auto=update

spring.h2.console.enabled=true
H2 is useful for learning and testing because it does not require installing a separate database server.
For a real-world application, you can later connect Spring Boot to MySQL, PostgreSQL, or another database.
Step 9: Run the Application
Find the main application class:
@SpringBootApplication
public class StudentApplication {

    public static void main(String[] args) {
        SpringApplication.run(StudentApplication.class, args);
    }
}
Run the application from your IDE.
By default, Spring Boot starts the embedded server on:
http://localhost:8080Step 10: Test the API
You can test your REST API using Postman or another API testing tool.
To add a student, send a POST request to:
http://localhost:8080/studentsUse JSON such as:
{
    "name": "Rahul",
    "email": "rahul@example.com",
    "course": "Java Full Stack"
}
Then use:
GET http://localhost:8080/studentsto retrieve the student records.
You can also use:
DELETE http://localhost:8080/students/1to remove a student.
Why Build Spring Boot Projects?
Creating projects is an excellent way to understand how backend applications work. A simple Student Management API teaches several important concepts, including REST APIs, dependency injection, JPA, database operations, HTTP methods, and layered application architecture.
Once you understand this project, you can improve it by adding authentication, validation, search functionality, pagination, exception handling, and a MySQL database.
Conclusion
Building a Spring Boot project step by step is a practical way for beginners to learn Java backend development. The Student Management API introduced the basic structure of a Spring Boot application, including models, repositories, services, controllers, and database configuration.
After completing this project, you can move on to larger applications such as an Employee Management System, Online Course Platform, E-Commerce Application, Banking System, or Job Portal.
With regular practice and real-world projects, Spring Boot can provide a strong foundation for building modern Java backend applications and preparing for software development careers.
Want to go deeper? Kaashiv Infotech Offers Full Stack Java Developer Course, Java Course, Java Internship In Online & Offline Visit Our Website www.kaashivinfotech.com.