Easy Steps to Create Your First React Application (Complete Beginner-to-Intermediate Guide)
Steps to Create Your First React Application – Creating your first React application is more than just running a few commands—it’s your entry point into modern frontend development. React has become a dominant force in building fast, scalable, and dynamic web applications used by companies worldwide. If you’ve ever wondered how interactive websites like dashboards, social media feeds, or real-time apps work, React is one of the technologies behind them.
This in-depth guide will walk you step by step through everything—from setup to understanding core concepts—so you not only build your first React app but also understand why things work the way they do.
What is React and Why is it Important?
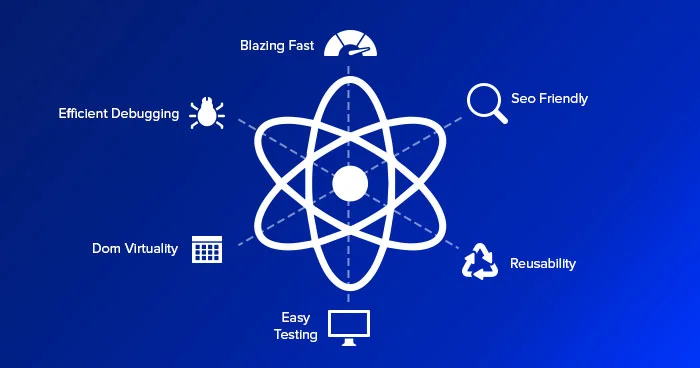
React is a powerful JavaScript library developed by Meta. It is specifically designed to build user interfaces, particularly for single-page applications (SPAs).
Unlike traditional websites that reload entire pages, React updates only the parts of the page that change. This leads to:
- Faster performance
- Better user experience
- Cleaner and maintainable code
At its core, React is built around the concept of components—independent, reusable building blocks of a UI.
Real-World Use Cases of React
Before jumping into coding, it’s helpful to understand where React is used:
- Social media platforms (dynamic feeds)
- E-commerce websites (product filtering, carts)
- Admin dashboards (charts, analytics)
- Streaming apps (live updates)
Companies like Facebook, Instagram, and Netflix rely heavily on React-based architectures.
Prerequisites (Detailed)
To get the most out of this tutorial, you should be comfortable with:
1. HTML & CSS
You should understand how web pages are structured and styled.
2. JavaScript Basics
Concepts like:
- Variables (
let,const) - Functions (especially arrow functions)
- Arrays and objects
- ES6 modules (
import/export)
3. Install Node.js
Node.js allows you to run JavaScript outside the browser and includes npm (Node Package Manager).
To verify installation:
node -v
npm -v
Steps to Create Your First React Application
Step 1: Setting Up the Environment
Modern React development relies on tools that simplify configuration. The easiest way to get started is using Create React App.
Why Use Create React App?
- No manual configuration
- Pre-installed tools (Webpack, Babel)
- Ready-to-use project structure
Step 2: Create Your First React App
Run the following command in your terminal:
npx create-react-app my-first-react-appWhat happens here:
- A new folder is created
- All dependencies are installed
- Boilerplate code is generated
Navigate into your project:
cd my-first-react-appStep 3: Run the Development Server
Start your app using:
npm startThis launches a local development server at:
http://localhost:3000Your browser will automatically open the default React page.
Step 4: Deep Dive into Project Structure
Understanding the folder structure is crucial:
my-first-react-app/
│
├── node_modules/
├── public/
│   └── index.html
├── src/
│   ├── App.js
│   ├── index.js
│   ├── App.css
│   └── components/
└── package.json
Key Files Explained
- index.js → Entry point of your app
- App.js → Main component
- public/index.html → Root HTML file
- package.json → Project dependencies and scripts
Step 5: Understanding JSX
React uses JSX (JavaScript XML), which looks like HTML but works inside JavaScript.
Example:
const element = <h1>Hello, React!</h1>;Behind the scenes, JSX is converted into JavaScript.
Rules of JSX:
- Must return a single parent element
- Use
classNameinstead ofclass - Expressions go inside
{}

Step 6: Creating Your First Component
Components are the heart of React.
Functional Component Example:
function Welcome() {
  return <h2>Welcome to React!</h2>;
}

export default Welcome;
Using the Component:
import Welcome from './Welcome';

function App() {
  return (
    <div>
      <h1>Hello World</h1>
      <Welcome />
    </div>
  );
}
Step 7: Props – Passing Data Between Components
Props (short for properties) allow you to pass data.
function Greeting(props) {
  return <h2>Hello, {props.name}!</h2>;
}
Usage:
<Greeting name="John" />
<Greeting name="Alice" />
This makes components dynamic and reusable.
Step 8: State – Making Components Interactive
State allows components to change over time.
import { useState } from 'react';

function Counter() {
  const [count, setCount] = useState(0);

  return (
    <div>
      <p>Count: {count}</p>
      <button onClick={() => setCount(count + 1)}>Increase</button>
    </div>
  );
}
Here, clicking the button updates the UI instantly.
Step 9: Handling Events in React
React handles events like clicks, input changes, etc.
function ClickExample() {
  function handleClick() {
    alert("Button clicked!");
  }

  return <button onClick={handleClick}>Click Me</button>;
}
Step 10: Styling in React
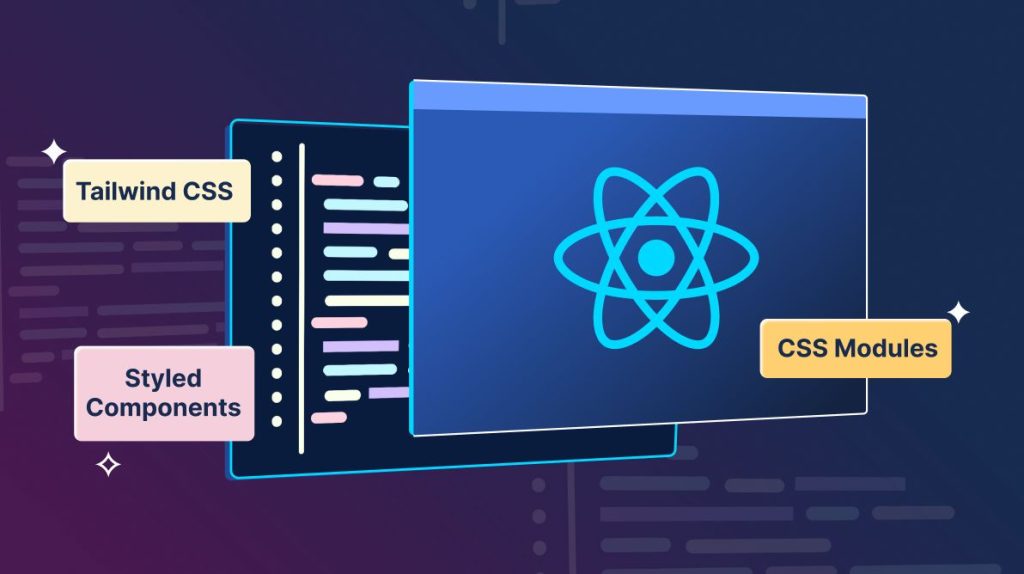
There are multiple ways to style your app:
1. CSS Files
h1 {
  color: blue;
}
2. Inline Styles
<h1 style={{ color: 'red' }}>Hello</h1>3. CSS Modules (advanced)
Scoped styling for components.
Step 11: Conditional Rendering
React allows you to render UI based on conditions:
function Status(props) {
  return (
    <div>
      {props.isLoggedIn ? <h2>Welcome Back!</h2> : <h2>Please Login</h2>}
    </div>
  );
}
Step 12: Lists and Keys
Rendering lists dynamically:
const items = ['Apple', 'Banana', 'Orange'];

function List() {
  return (
    <ul>
      {items.map((item, index) => (
        <li key={index}>{item}</li>
      ))}
    </ul>
  );
}
Step 13: Building and Deploying Your App

To create a production build:
npm run buildThis generates optimized files in the build/ folder.
You can deploy your app using platforms like:
- Netlify
- Vercel
- GitHub Pages
Common Beginner Mistakes (Detailed)
Many beginners struggle at first, but being aware of common mistakes helps:
- Writing everything in one component instead of splitting logic
- Forgetting to export components
- Misusing state and props
- Not understanding component lifecycle
- Using
classinstead ofclassName
Best Practices for React Beginners
Focus on writing clean, readable code. Break your UI into small reusable components. Keep components simple and focused on one responsibility. Learn hooks like useState and useEffect gradually.
Avoid overcomplicating your first projects—start small and scale slowly.
Mini Project Ideas to Practice
Once you’ve built your first app, try:
- To-do list app
- Weather app using API
- Calculator
- Notes app
- Simple blog UI
These projects will strengthen your understanding.
The Future of React
React continues to evolve with new features like:
- Server Components
- Concurrent Rendering
- Improved performance optimizations
Learning React now sets a strong foundation for modern frontend development.
Conclusion
Creating your first React application is a major milestone in your development journey. What starts as a simple “Hello World” quickly grows into building powerful, real-world applications.
The key is consistency. Practice daily, build small projects, and gradually explore advanced topics. Over time, React will become second nature, and you’ll be able to build fast, scalable, and beautiful applications with confidence.
Want to learn more about React ?, Kaashiv Infotech Offers React course and more Visit Their website www.kaashivinfotech.com.

![Merge Sort Algorithm [2025]](https://www.wikitechy.com/wp-content/uploads/2025/08/Merge-Sort-Algorithm-2025-380x220.webp)