


Table Of Content
- Why I Wanted to Change My Desktop
- How I Set Up iTop Easy Desktop
- Step 1: Download and Install iTop Easy Desktop
- Step 2: Organize My Messy Desktop
- Step 3: Create a Private Space for Important Files
- Step 4: Add a Folder Portal for Quick Access
- Making My Desktop Look Better
- The Widgets I Actually Use
- My Final Desktop Setup
- My Honest Take After Using It
I have always believed that a good desktop setup should do more than look nice. It should make my everyday work easier.
But if I’m being honest, my Windows desktop was far from perfect. Over time, it slowly became a dumping ground for everything: screenshots I forgot to delete, documents I needed “just for a few days,” folders from old projects, software shortcuts, and files I downloaded but never organized. I could usually find what I needed eventually, but finding something quickly often meant staring at a screen full of icons and wondering where I had put it.
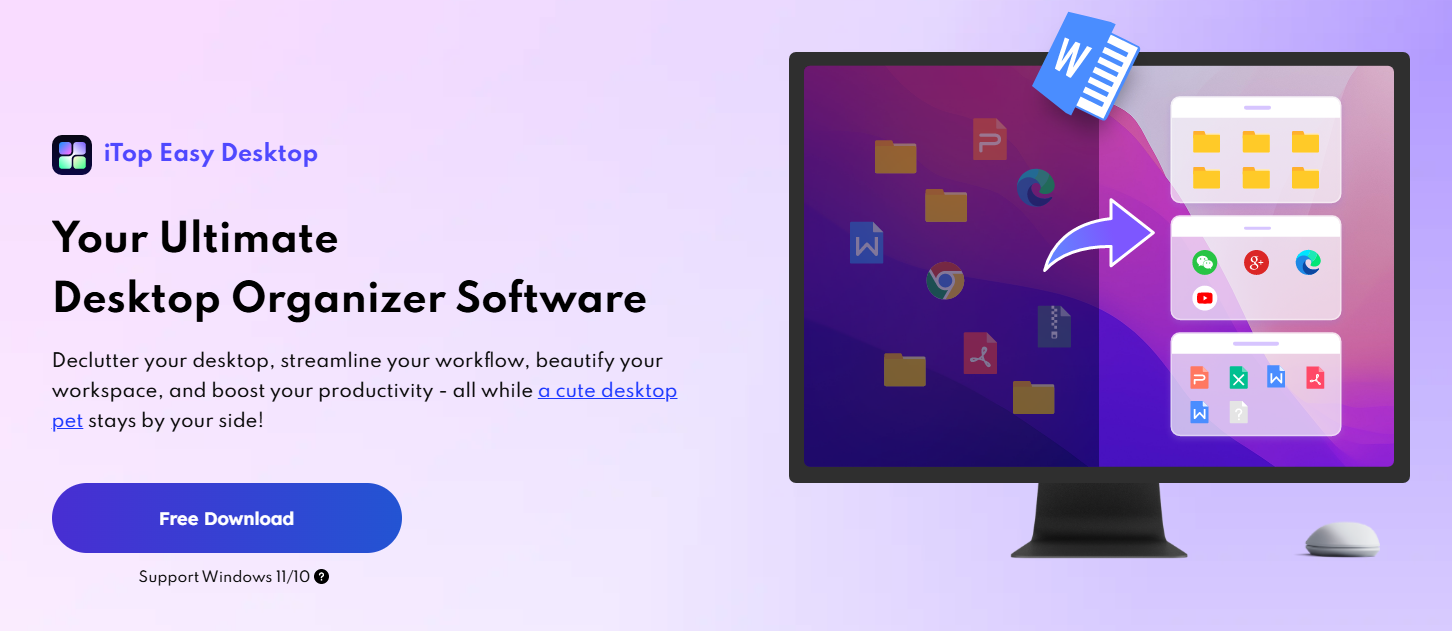
That’s when I decided to try iTop Easy Desktop. At first, I expected it to be just another desktop organizer that groups icons into boxes. But after using it for a while, I found that it could do much more than simply clean up my desktop. It helped me build a desktop setup that was not only more organized, but also more personal and practical.
Here is my experience with iTop Easy Desktop and how I turned my messy Windows desktop into a workspace I actually enjoy using.
Why I Wanted to Change My Desktop
My biggest problem wasn’t that I had too many files. It was that everything was mixed together.
Work documents were sitting next to screenshots. Applications were scattered everywhere. Important files were mixed with temporary downloads. When I was sharing my screen during an online meeting, I also didn’t particularly enjoy showing everyone my chaotic desktop.
I wanted something simple. I wanted my work files in one place, frequently used apps somewhere easy to access, and personal files separated from everything else. At the same time, I wanted my desktop to look good instead of feeling like a boring collection of shortcuts.
iTop Easy Desktop seemed to fit that idea because it combines desktop organization with customization and productivity features. It can automatically group desktop items into organized boxes, while also allowing me to create my own categories and customize the appearance of those boxes.
How I Set Up iTop Easy Desktop
Getting started was straightforward. Here’s the process I followed.
Step 1: Download and Install iTop Easy Desktop
I first downloaded iTop Easy Desktop from the official website and installed it on my Windows PC. The installation process was quick, so I didn’t have to spend much time configuring anything before getting started.
The current version supports Windows 10 and Windows 11, according to the official product page.
Step 2: Organize My Messy Desktop
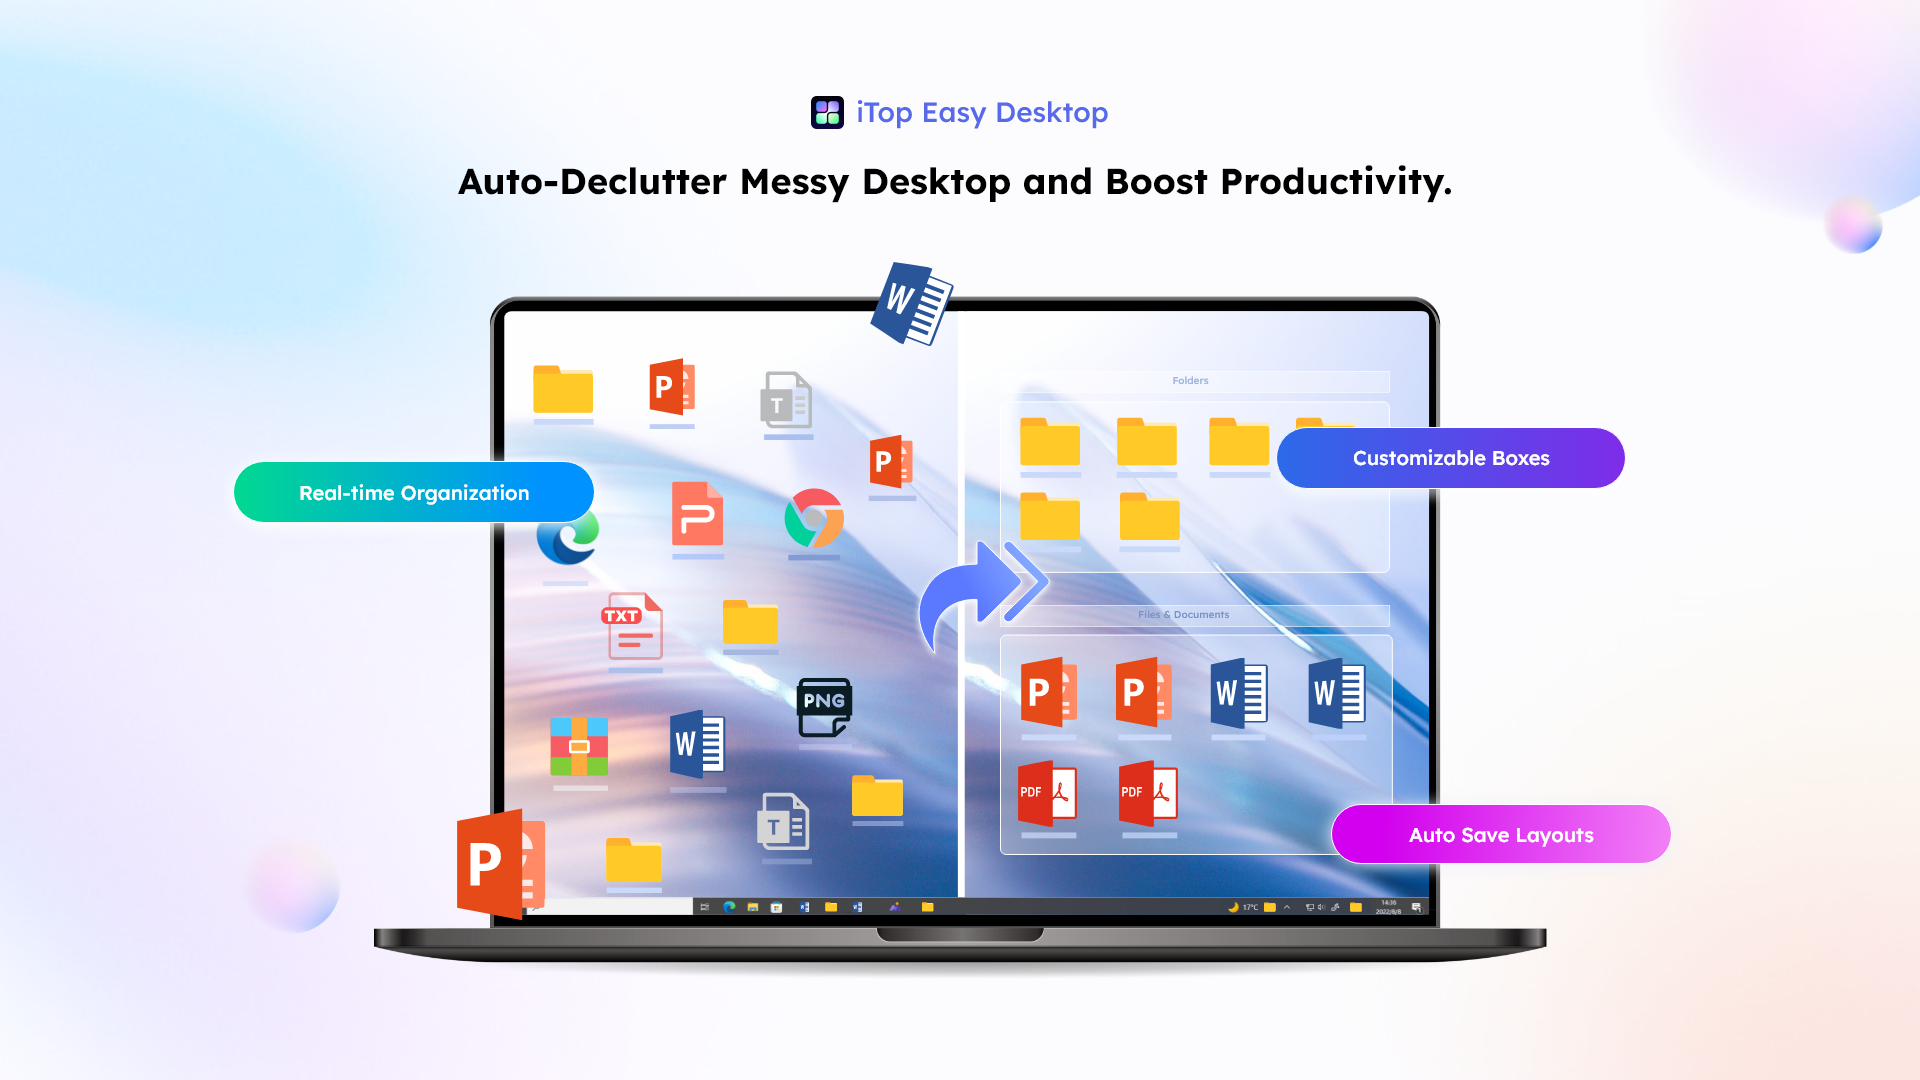
After launching the software, I started with the most useful feature for my situation: automatic organization.
Instead of manually dragging dozens of icons around, I used the automatic organization function to group items into different boxes. This immediately gave my desktop a much cleaner structure.
I then created my own categories based on how I actually use my computer.
For example, I created boxes for:
- Work
- Projects
- Frequently Used Apps
- Downloads
- Personal
- Screenshots
I also found that customizable boxes were useful because I could arrange my desktop according to my own workflow rather than being forced to follow a fixed layout. iTop Easy Desktop allows users to create and customize boxes, making it easier to separate different types of files and shortcuts.
Step 3: Create a Private Space for Important Files
One feature I didn’t expect to use as much as I do now is the Private Box.
I often have personal photos, documents, and other files that I don’t want sitting openly on my desktop. Instead of creating another folder somewhere on my hard drive and then forgetting where it is, I can place sensitive files in the Private Box and protect them with a password.
For me, this is especially useful when I share my computer with someone else or simply want to keep certain files separate from my everyday workspace.
Step 4: Add a Folder Portal for Quick Access
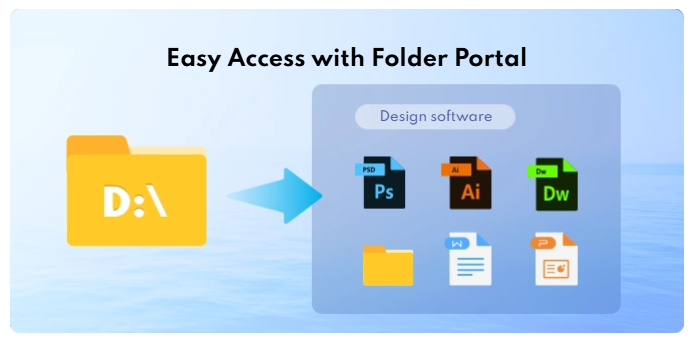
Another small but useful feature is the Folder Portal.
I have a few folders that I open almost every day. Before using iTop Easy Desktop, I usually had to open File Explorer and navigate through several folders to get there.
With the Folder Portal, I can put frequently accessed folders directly on my desktop for quicker access. I think of it as a shortcut that gives me a more convenient view of a folder’s contents without constantly digging through File Explorer.
This may sound like a minor convenience, but when I repeat the same action dozens of times a week, these little shortcuts make a noticeable difference.
Making My Desktop Look Better
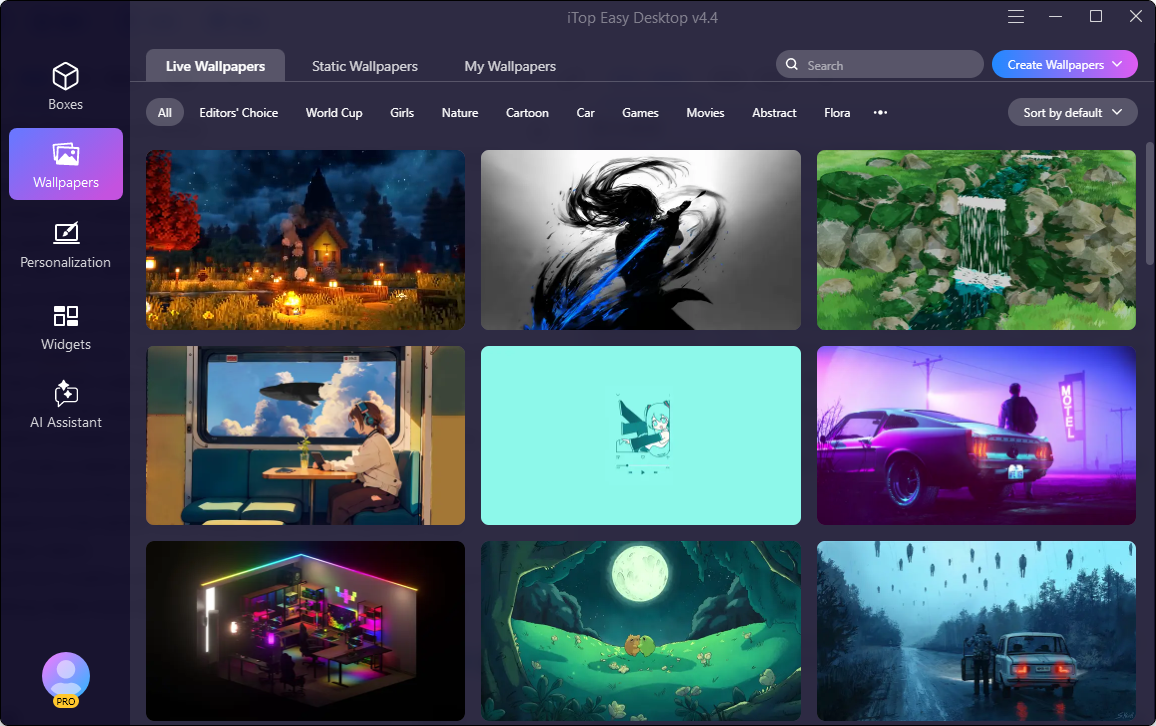
Once I had everything organized, I wanted to make my desktop more enjoyable to look at.
This is where the wallpaper and personalization features came in.
I usually spend several hours a day looking at my computer screen, so I don’t want my desktop to feel completely lifeless. iTop Easy Desktop provides access to static and live wallpapers, allowing me to change the look of my desktop without manually searching for wallpapers every time. The current version offers access to more than 22,000.
I also like that I can adjust the appearance of my desktop organization instead of simply accepting a standard layout. For my setup, I chose a relatively simple wallpaper and kept my boxes organized around the edges of the screen. This gave me enough visual space in the center while keeping my most important files within easy reach.
The result isn’t overly complicated. That’s actually what I like about it. My desktop feels more like a personal workspace than a storage area.
The Widgets I Actually Use
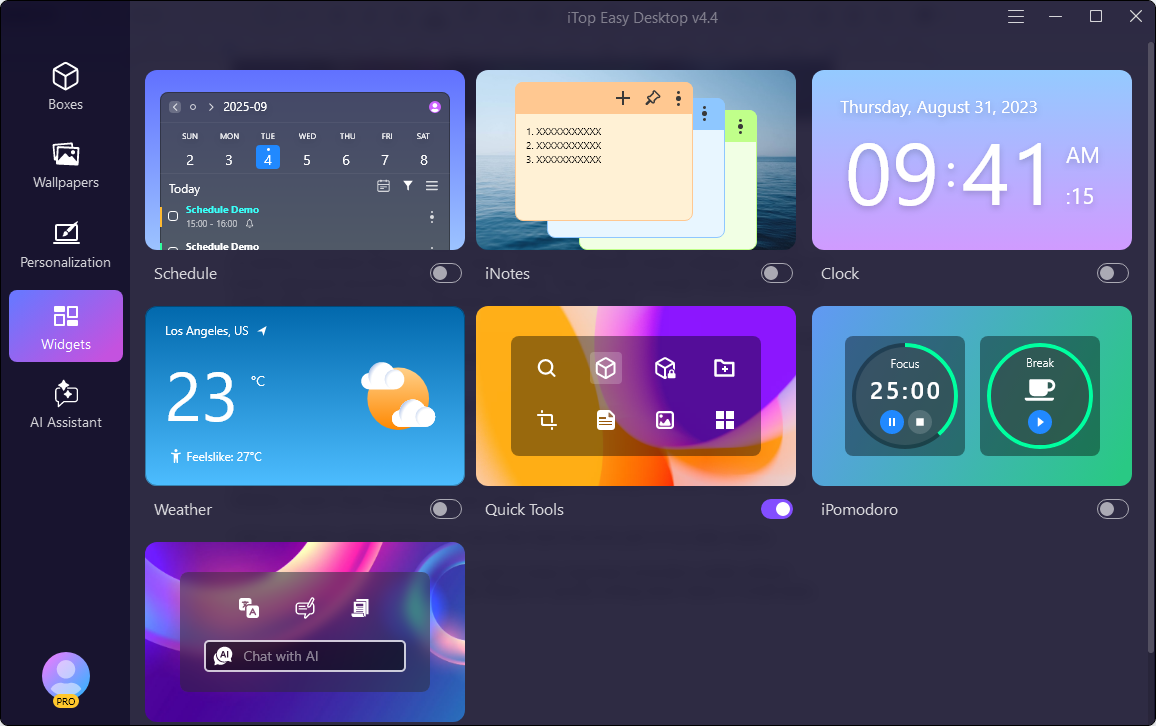
Another part of my setup is the built-in widgets.
iTop Easy Desktop includes several practical widgets, including Schedule, iNotes, Clock, Weather, Quick Tools, iPomodoro, and Chat AI.
I don’t use every widget all the time, but a few have become part of my daily routine.
The Schedule widget is useful when I want to keep important reminders visible without opening another application. I also like iNotes for quickly writing down ideas or small tasks that I don’t want to forget.
When I’m working on something that requires concentration, I find the iPomodoro widget particularly helpful. Instead of constantly checking the time, I can work in focused intervals and take short breaks.
I also like having the weather visible on my desktop. It isn’t a revolutionary feature, but it’s convenient because I can check it at a glance.
The main advantage for me is that these tools are available directly from my desktop. I don’t have to open several different apps just to check a note, look at the weather, or start a focus timer.
My Final Desktop Setup
After spending some time customizing everything, my ideal setup now looks something like this:
At the center, I keep a clean wallpaper with minimal visual distractions.
On one side, I have my Work and Project boxes. These contain the files and shortcuts I use most frequently. On another side, I keep my personal files and less frequently used applications.
I use the Folder Portal for folders that I access every day, while the Private Box is reserved for files I want to keep more secure. At the top of my workspace, I keep a few widgets, mainly my schedule, notes, and weather.
The result is a desktop that feels much more intentional.
My Honest Take After Using It
What I like most about iTop Easy Desktop is that it doesn’t try to solve just one problem. Instead of feeling like bloatware, it acts as a genuine desktop organizer software that actually simplifies things.
I don’t have to waste time searching through dozens of randomly placed icons. I can quickly access the folders and applications I use most, keep important files separated, and customize the workspace to match the way I work.
My advice is to start small: organize your desktop into a few meaningful categories, add only the widgets you genuinely need, and then customize the appearance once the basic structure is in place. After using iTop Easy Desktop, my desktop has become more than just the first screen I see when I turn on my PC. It has become a practical part of my workflow.
And honestly, that’s what I was looking for in the first place—a desktop that works for me, rather than one that constantly reminds me that I need to clean it up.