Samsung devices are known in the market for their quality hardware, not so much for their software. It wasn’t until Samsung ditched TouchWiz and proceeded with Samsung Experience (later known as One UI) that the South Korean giant finally got recognition for user experience. Some tech websites even called One UI as “arguably” the best Android flavor to ever exist on smartphones. It’s no doubt.
However, while Samsung engineers strive so hard to give the best user experience possible to every Samsung device, it won’t stop some users from experimenting with their devices. Rooting and flashing custom ROM is not new to everyone. There are a lot of free resources online to do this. But a simple error during the process could lead to a lot of problems. To some manufacturers, it is sometimes irreversible.
Thankfully, problems like bricking your smartphone isn’t that big of an issue for Samsung users. Samsung has released software to reverse this problem.
What is a “bricked phone”?
For starters, a phone is considered bricked if it no longer functions as intended due to corrupted software. It is called a “bricked phone” because if the damage done is irreversible, it will be as useless as a piece of brick.
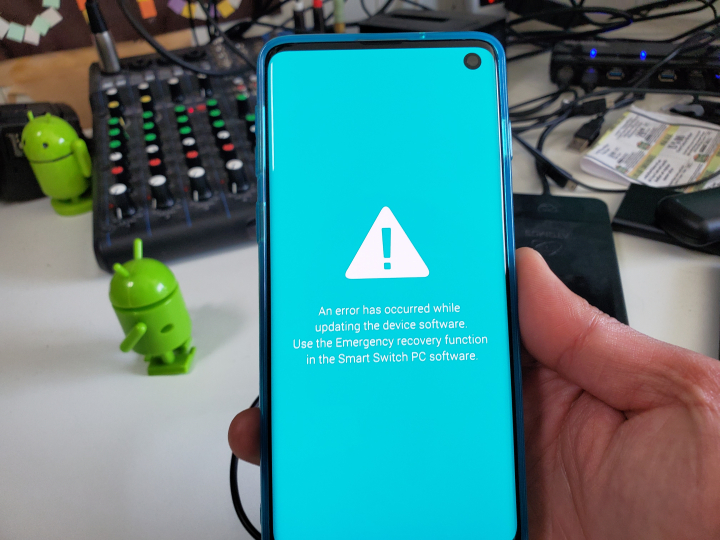
There are two kinds of a bricked phone. A soft-bricked phone may turn on but may refuse to boot to Android OS (boot loop) and a hard-bricked phone that won’t even turn on. A hard brick phone is the most challenging type of bricked phone to fix. If a manufacturer offers no tool to reverse this damage, there is no chance of fixing your phone.
Samsung’s Odin tool helps users to roll back their bricked phone to a working condition. Just like what it was before the damage. Samsung provides stock ROM on its official website for each of their devices as soon as it hits the market.
What is Odin?

Odin is Samsung’s tool to revert any bricked Samsung devices to what it was before the software damage. It allows users to flash files with .tar or .tar.md5 extension. Odin was originally meant for official service centres but later became available online. Although not due to official release. Either way, a copy of Odin is now available all over the internet, and if you have time to learn how to use it, it will save you time going to Samsung-certified service centres. Feel free to download Odin’s latest version.
Features of the Odin Tool
- Flash Stock firmware
- Flash Custom firmware
- Flash Stock recovery
- Flash kernel
- Gain root access by flashing root packages
Supported OS: Windows PC (Windows 10, Windows 8.1, Windows 8, Windows 7, and Windows XP).
How to install & use Samsung Odin to flash files
Step 1. Download Odin on your PC and download the suitable .tar/.tar.md5 file from Samsung’s website. This should be the stock ROM based on your phone model. If you want to flash a custom recovery like CWM or TWRP, it should either have .tar or .tar.md5 extension. Also, run Odin as an administrator.
Step 2. On other Android devices, we have Bootloader/Fastboot Mode to allow us to flash factory images or firmware to the Android device. In Samsung smartphones, there is a feature called Download Mode which will prepare your device to receive data from the computer using the Odin tool. You can do this by pressing power, volume down and home buttons simultaneously for about 2-3 seconds until you see download mode screen. When you see a warning sign with an exclamation point, press the volume up key to enter the Download/Odin mode.
Step 3. Connect your Samsung device to the computer using a compatible USB cord, and launch the Odin tool. The tool will then detect your device and will show the “added” message. This time the ID: COM port on Odin will turn yellow or blue (it depends on the version of Odin you are using).
Note: If your phone won’t connect or get detected by Odin, try to plug and unplug your phone. Also, try to replace the cable.
Step 4. Next up, click the “AP” button (“PDA” for older versions) on Odin. Navigate to the firmware and select the file with .tar or .tar.md5 extension (the stock ROM of your phone model).
Step 5. Make sure that only the Auto Reboot and F. Reset Time boxes are checked if you have.PIT file to flash, check the Re-Partition box. When done, click on “start”.
