Android tutorial - Android emulator | How To Install Genymotion Emulator and Add It’s Plugin To Android Studio - android studio tutorial
What is Genymotion Emulator
- Genymotion is a fast third-party emulator that can be used instead of the default Android emulator. It provides you with a full-featured Android emulator that combines simplicity with advanced 3D performance in order to help you get the whole Android experience.
- Relying on the OpenGL technology, the emulator runs smoothly, no matter the device you select.
- Genymotion is an Android Emulator which is way faster than Android Studio emulator.
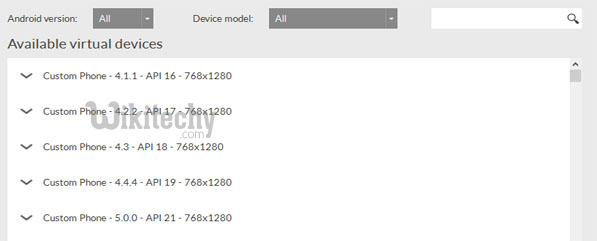
- GenyMotion emulator offers a wide range of virtual devices for development, test and Demo - android emulator and its for android tutorial learning and demo working purpose.
- It has very simple user interface and you can directly use it from Android Studio by installing it’s plugin only once.
How to install Genymotion emulator and add it’s plugin to Android Studio
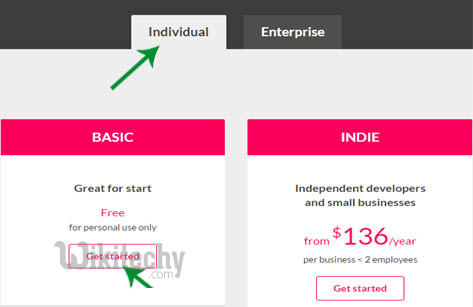
- Under Individual select Basic section and hit “get started”. then click on “Download Genymotion Package”

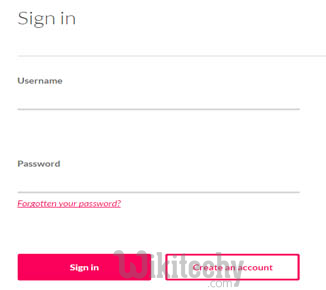
- It will ask you to sign in. If you don’t have an account already then just click create account and fill a form.
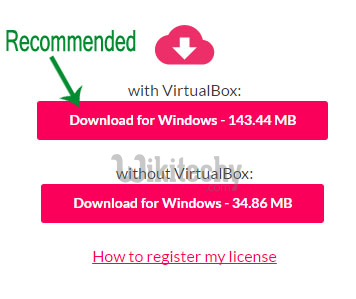
- There will be two options: with Virtual box and without Virtual box. We recommend you to select: “With Virtual Box”(Because sometimes old Virtual box may not be compatible with the new Version of Genymotion)
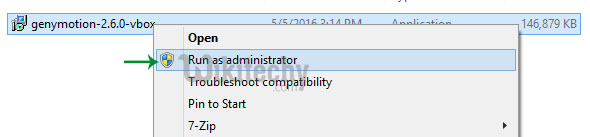
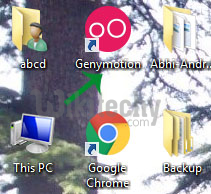
- You will find a rounded Genymotion icon on your desktop. Launch Genymotion by double clicking on it.
- Once Genymotion window is launched. It might ask you to sign in to Genymotion account.(With the same credentials which you used for account creation)
- If its already signed in then it will show your user name on left bottom of screen. Now you need to Click Add button to create an Emulator for android development.

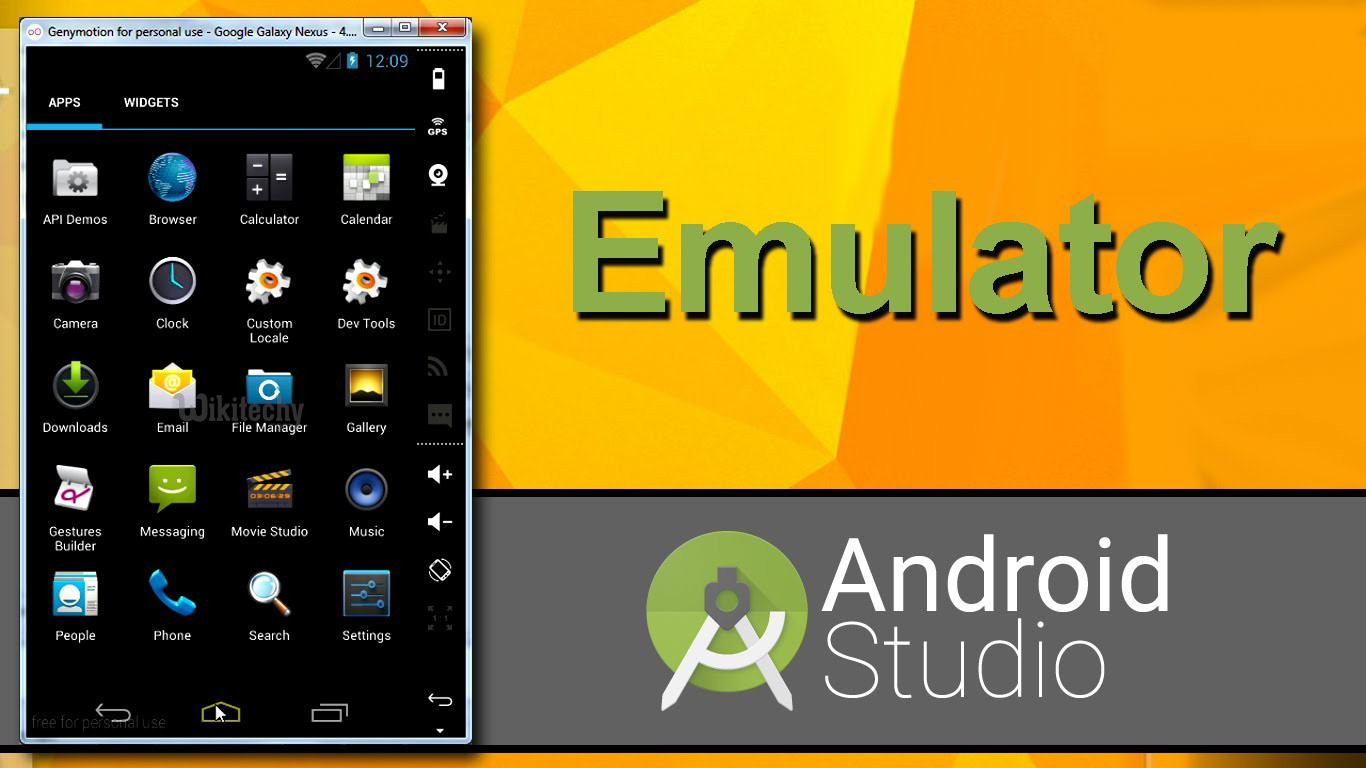
- Sign In first and Select a device and click next. It will download your Android device.
- On other hand, Start Android Studio. Click File > Settings > Plugins
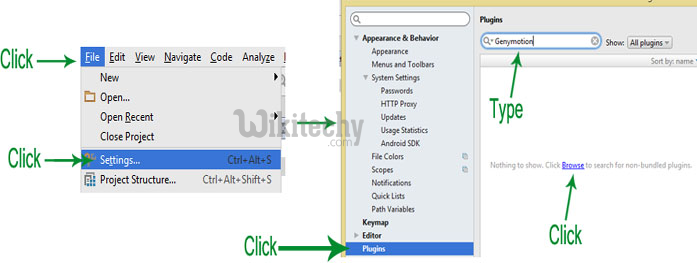
- In search option, write Genymotion. Just Install the plugin and click OK.

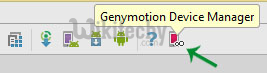
- You will have a Genymotion icon on task bar. Whenever you want to start any Genymotion Virtual device. Select it from list and just Click Start.