Android tutorial - Install Android | Android Installation and run it - android app development - android studio - android development tutorial
- Android Hello World Example - First Sample application in Android Studio
Create the Project
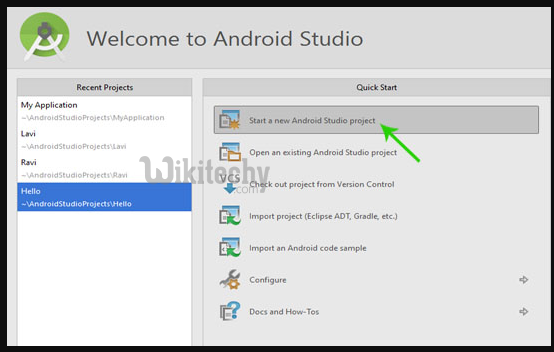
- Step 1: Firstly, open the Android Studio. You will see “Welcome to Android Studio” on your computer screen. After that you click on “Start a new Android Studio project”.
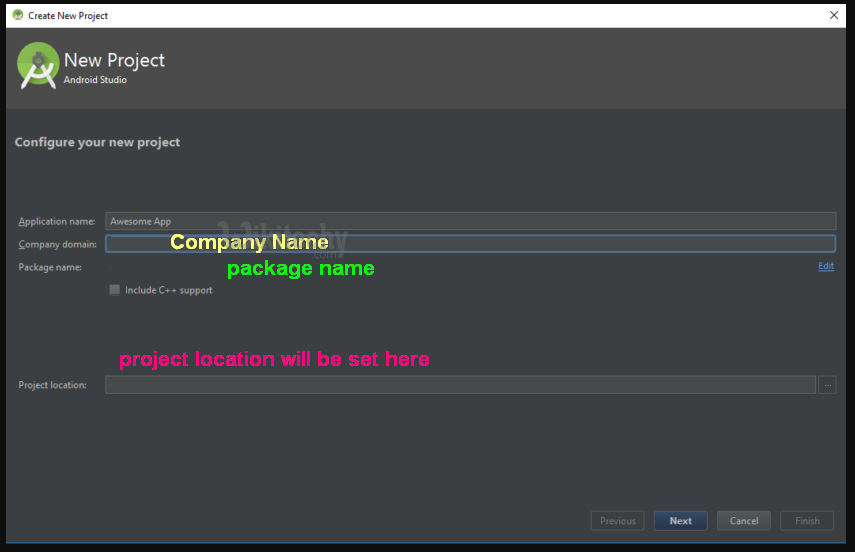
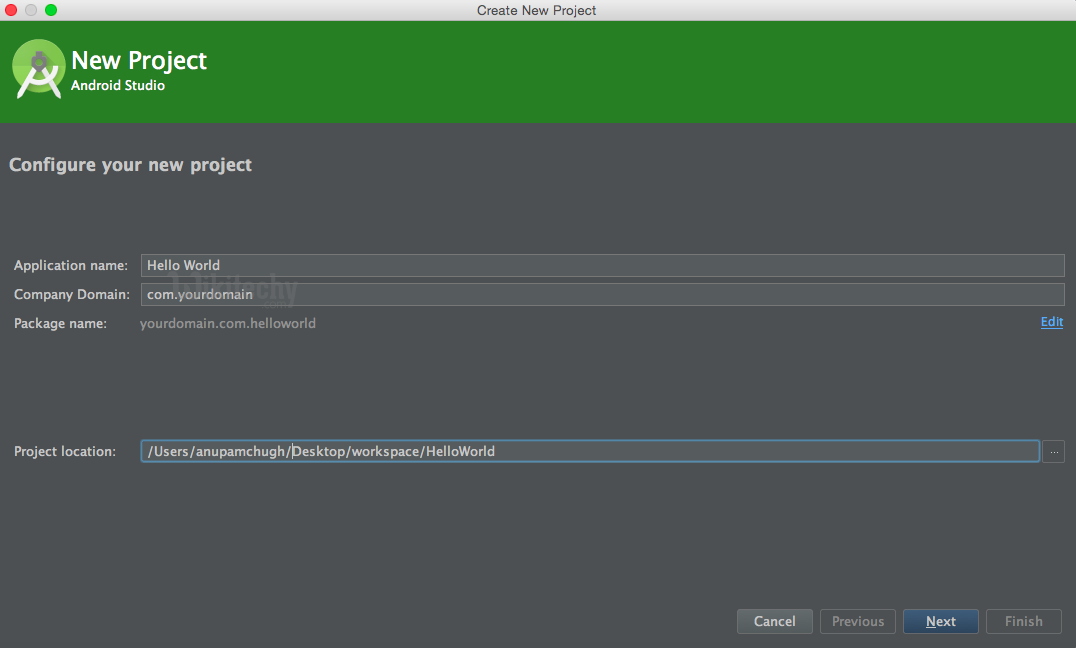
- Application Name: The name of your application.
- Company Domain: Enter your company domain main name if you have.
- Package Name: The name of Java Package, it is used to organize Java classes into namespaces. Java Package will be naming by use your reversed domain name and follow by the application name.
- e.g. I use "com.yourdomain" as domain name the Java Package will be "yourdoimain.com.helloworld". This step Android Studio will generate automatically.
- Project Location: The location on disk that you want to store the project.

- On the next screen, you’ll be presented with a list of activity types.
- The default Blank Activity is good enough for this project.
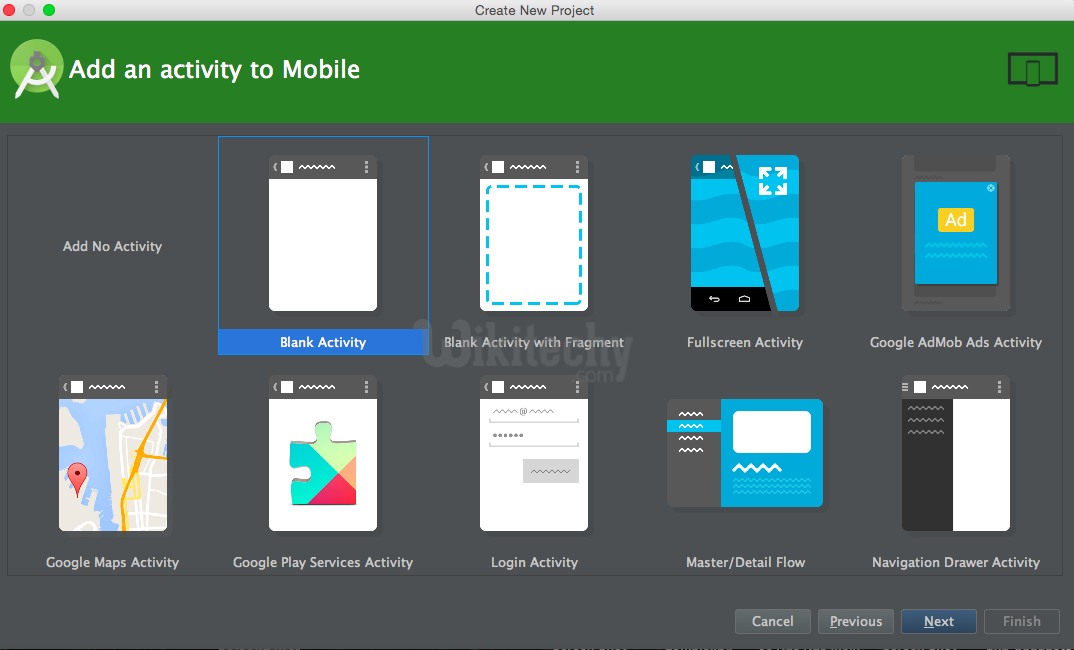
- Click Next.
- This screen is an Activity configuration screen.
- Since you asked ADT to create an activity for you, this screen helps you in configuring relevant options.
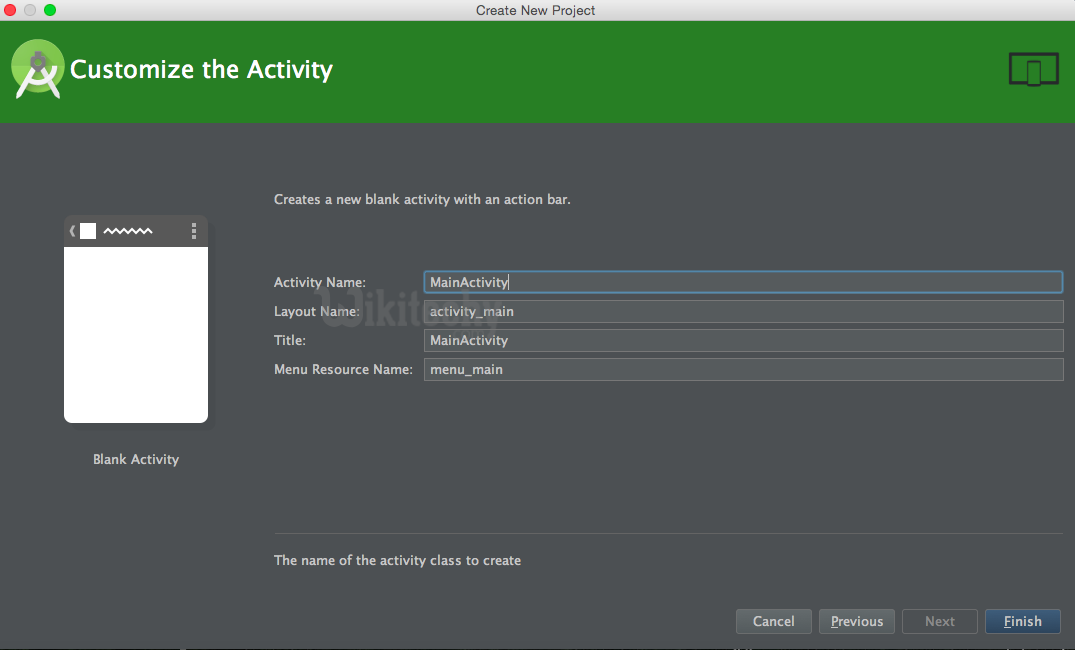
- Activity Name: Let’s stay with the default name MainActivity.
- Layout Name: ADT that creates activity for you, will also create a layout for you to bind it with the activity.
- Title: It specifies the title of the activity.
- Menu name: This is used to provide menu options. Keep default name only.
- Gradle is an advanced build toolkit that manages dependencies and allows you to define custom build logic.
- Android Studio uses a Gradle wrapper to fully integrate the Android plugin for Gradle. The Android plugin for Gradle also runs independent of Android Studio.
- This means that you can build your Android apps from within Android Studio or from the command line on your machine or on machines where Android Studio is not installed.

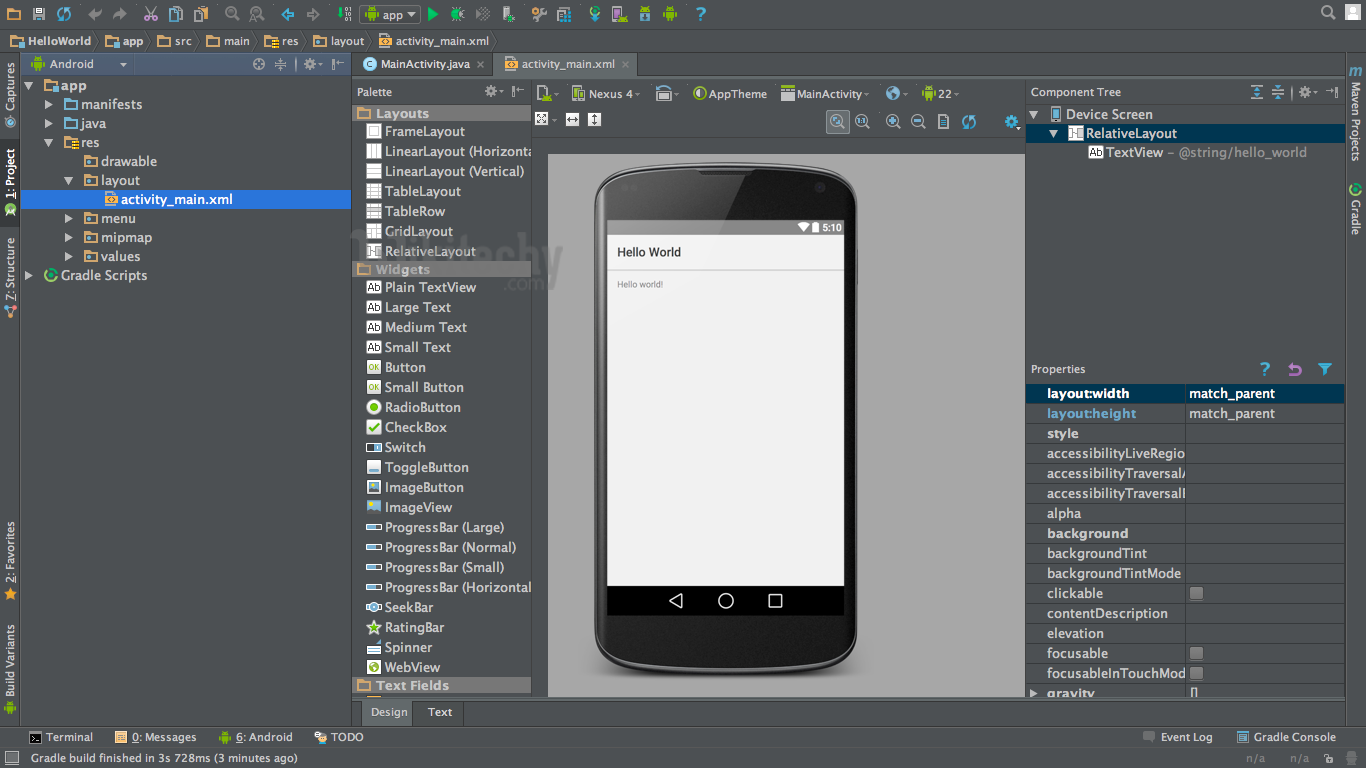
- Once you click Finish ADT will create your new project and will open Java code and Layout code for you.
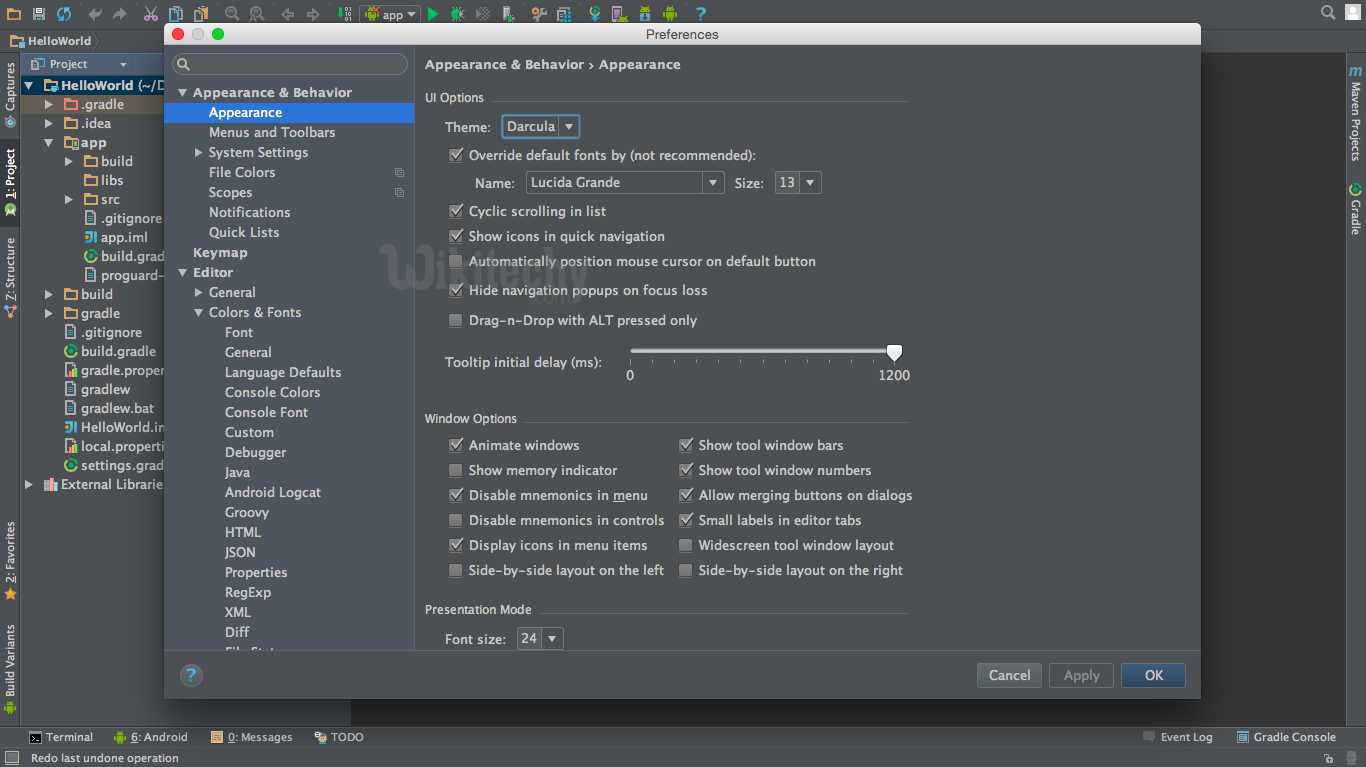
- By now you might be wondering how do you change your default white theme to the dark theme shown in the snippets.
- Go to menu Android Studio > Preferences, choose IDE Settings > Appearance.
- Change the ‘Theme’ from ‘Default’ to ‘Dracula’.
Running on Emulator or Device
- Create a new AVD instance using the AVD manager and provide the details asked.
- Once finished with the creation run the app on the emulator.
- Congratulations on your first app.
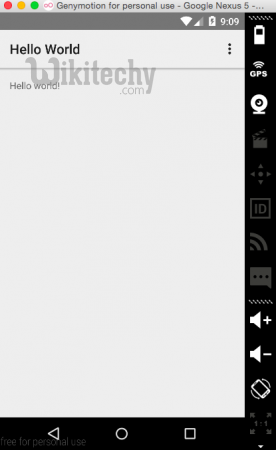
- Hence it is recommended to use Genymotion plugin or debugging through phone for testing purposes.
- You can find the steps to integrate Genymotion with Android Studio https://www.genymotion.com/
- Sign up and create your own virtual devices for a speedy development.

- You should keep your phone connected to your PC through USB. While deploying the app, your phone would be shown as an option to which you can deploy. To do this change Edit Configuration > Target Devices >Show Chooser Dialog.
- If you are planning to deploy the Android app to your phone, it is essential to turn on USB Debugging in your Android phone.
- On most devices running Android, you can find the option under Settings > Applications > Development.
- On Android 4.0 and newer, it’s in Settings > Developer options.
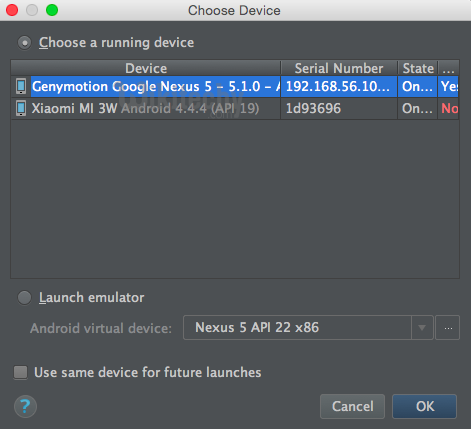
- Click run. The following window should pop up to choose the device.
Create the MainActivity
- First, we will create the Java class that inherit from "android.app.Activity".
- Activity class in Android Application represents the single screen of an Android application, if you want to display something on the Screen, you need to create an Activity.
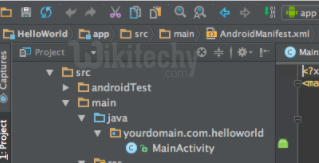
- Expand the "java" folder and you will see your application package folder
Project Structure
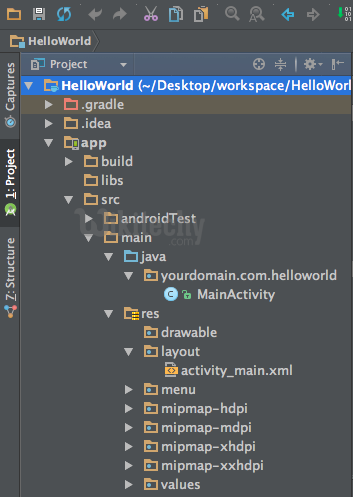
- For our simple program, there are only two important files one that determines the Activity’s behaviour MainActivity.java and one that determines most of the visual appearance activity_main.xml.
- You can set which activity is the one that the system starts but by default it is the single activity that you created and named when you set up the project.
- In this case we named the activity MainActivity and its layout file activity_main - but you could change these defaults. You can see the location of these two important files in the Project window:
- MainActivity class in MainActivity.java file extends Activity.
- It overrides onCreate() method with a custom call.
- The custom call starts with a call to the parent class’ (Activity’s) onCreate(). Then it sets the layout to show on the screen using setContentView(R.layout.activity_main)
- Here is the code generated in the MainActivity java file.
package yourdomain.com.helloworld;

import android.app.Activity;
import android.os.Bundle;

public class MainActivity extends Activity {

    @Override
    protected void onCreate(Bundle savedInstanceState) {
        super.onCreate(savedInstanceState);
         setContentView(R.layout.activity_main)

    }
}
click below button to copy the code from android tutorial team
- About setContentView(R.layout.activity_main), This line is the most important of all and really the only one that actually does anything.
- It gets the resource object that represents the layout as defined by the XML file and makes it the current ContentView i.e. it is what’s displayed on the screen.
- The layout is referenced using ‘R’, a resources class, that is generated by the build system.
- R has a reference field for every Android resource in use from this project’s resource directory.
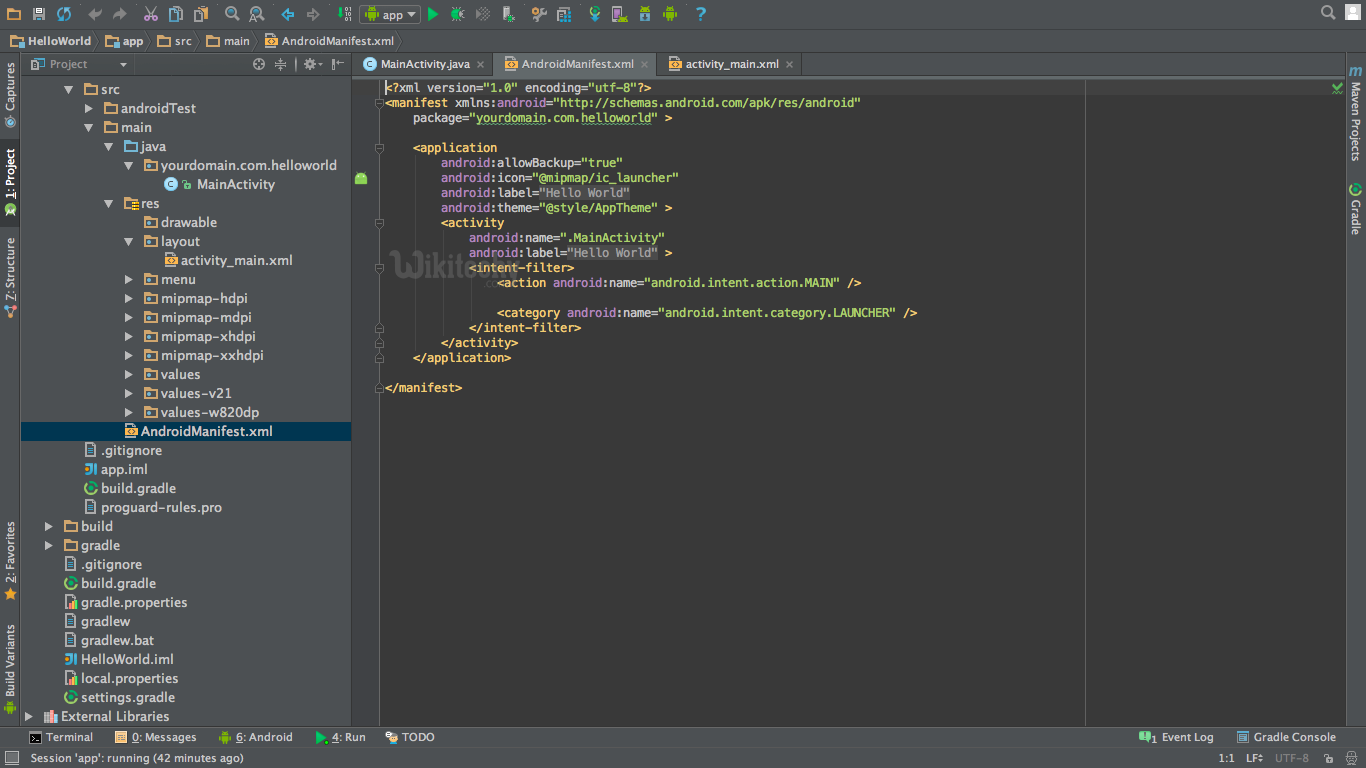
- The AndroidManifest.xml is another very important file, found in the ‘manifests’ folder.
- Its job is to define crucial facts about your app, such as which activities will be included, the name of the app as it will be seen by users, the app’s permissions etc.
About AndroidManifest.xml :
<manifest xmlns:android="http://schemas.android.com/apk/res/android"

    package="me.vable.android.helloworld">

    <application android:allowBackup="true"

        android:label="@string/app_name"

        android:icon="@drawable/ic_launcher"

        android:theme="@style/AppTheme">

    </application>

</manifest>
click below button to copy the code from android tutorial team
Let's see what is the meaning of each tag in this manifest file.
- manifest element: The root element of manifest it decliar a namespace that will use in this xml file. It must contains an <application> element, xmlns:android, and package attributes.
- xmlns attribute: Used to declare the namespace that you will use.
- package attribute: Your application package name, Android will use it to identify your application.
- application element: It describe about your app such as application name, icon, and theme. This element will contain components of your app such as Activity, Service, and Provider.
- activity element: It repersent your Activity class and its configurations.
Folder structure lists in Android application
- app folder: This folder contains a lot of files and folders; all of your code and resources is here.
- build folder: It contains the files that build from you code.
- libs folder: If you want to use external .jar library place it here.
- src folder:
- androidTest folder: The unit test code of your application.
- main folder: It is a main work path
- java folder: It contains your application code.
- res folder: It contains your application resources.
- AndroidManifest.xml: Config you Android application here.
- .gitignore: git ignore configuration file If you use git for source control.
- app.iml: Definition of your project structure.
- build.gradle: Config about your project and dependencies here.
- proguard-rules.pro: Need to protect your code? config here.
- gradle folder: gradle build system folder.
- .gitignore: git ignore configuration If you use git for source control.
- build.gradle: Config about your work space here.
- gradle.properties: Gradle config file.
- gradlew: Executable file used for build the project (UNIX based).
- gradlew.bat: Executable file used for build the project (Windows).
- HelloWorld.iml: Definition of your project structure.
- local.properties: Config your work space property.
- settings.gradle: Config gradle that what project that you want to build.
How To Start A New Project When A Project Is Already Open In Android Studio:
- Step 1: Firstly, we will Click on File.
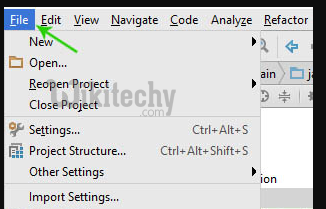
- Step 2: After that we will Click on New.
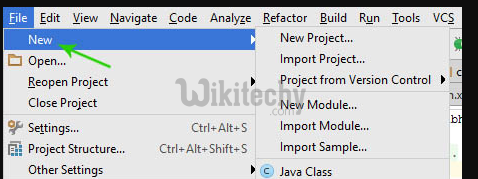
- Step 3: After that we will Click on New Project.

- After that you will see “New Project Android Studio” on your computer screen and follow the same steps as previously given to create the samples.